Regular washing and waxing can protect your vehicle from environmental damage. The frequency of washing and waxing depends on usage intensity, parking conditions (garage, under trees, or direct sunlight), and weather exposure.
Bird droppings, insect residues, tree sap, industrial dust, tar spots, cinders, and other deposits on painted surfaces or roof can cause damage to the paintwork/headlights/taillights, with accelerated corrosion under high-temperature sunlight. Weekly washing may be required under such conditions. When washing, please soak the dirt with enough water first and then remove it.
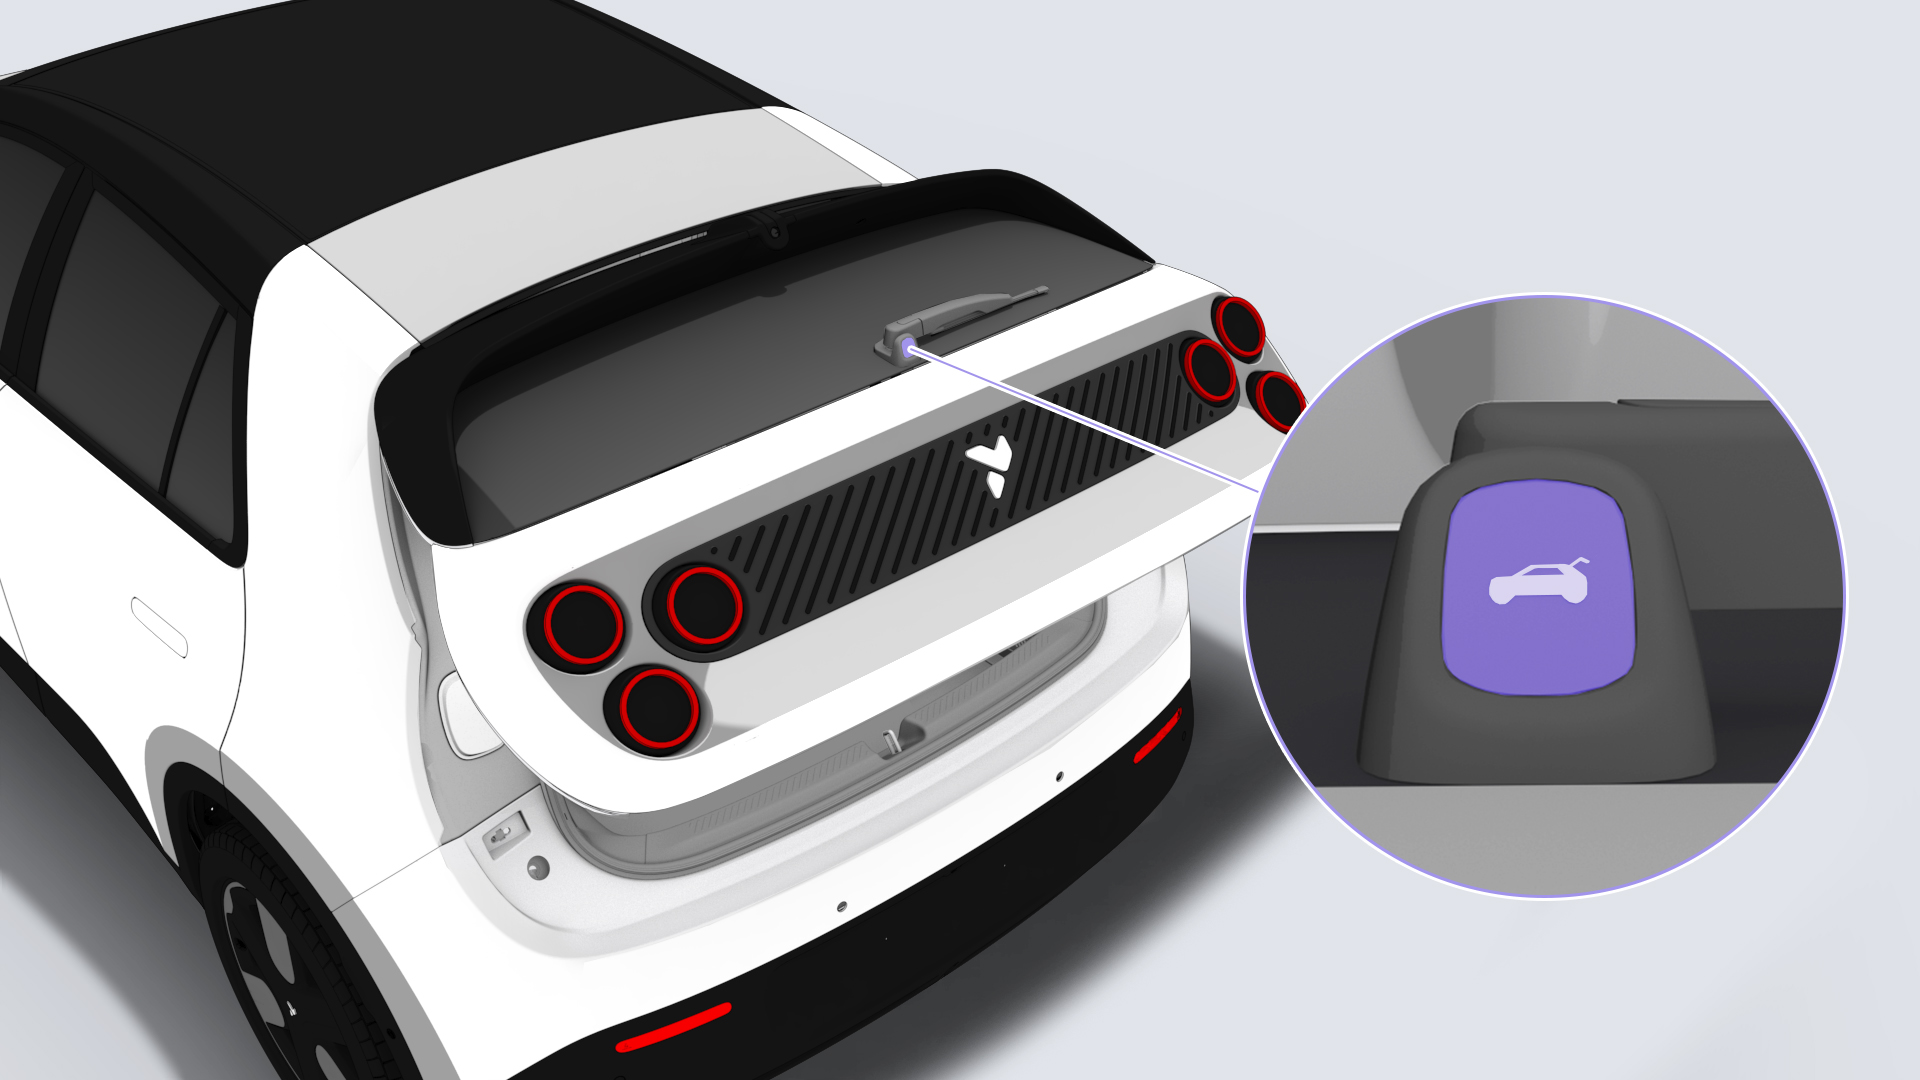
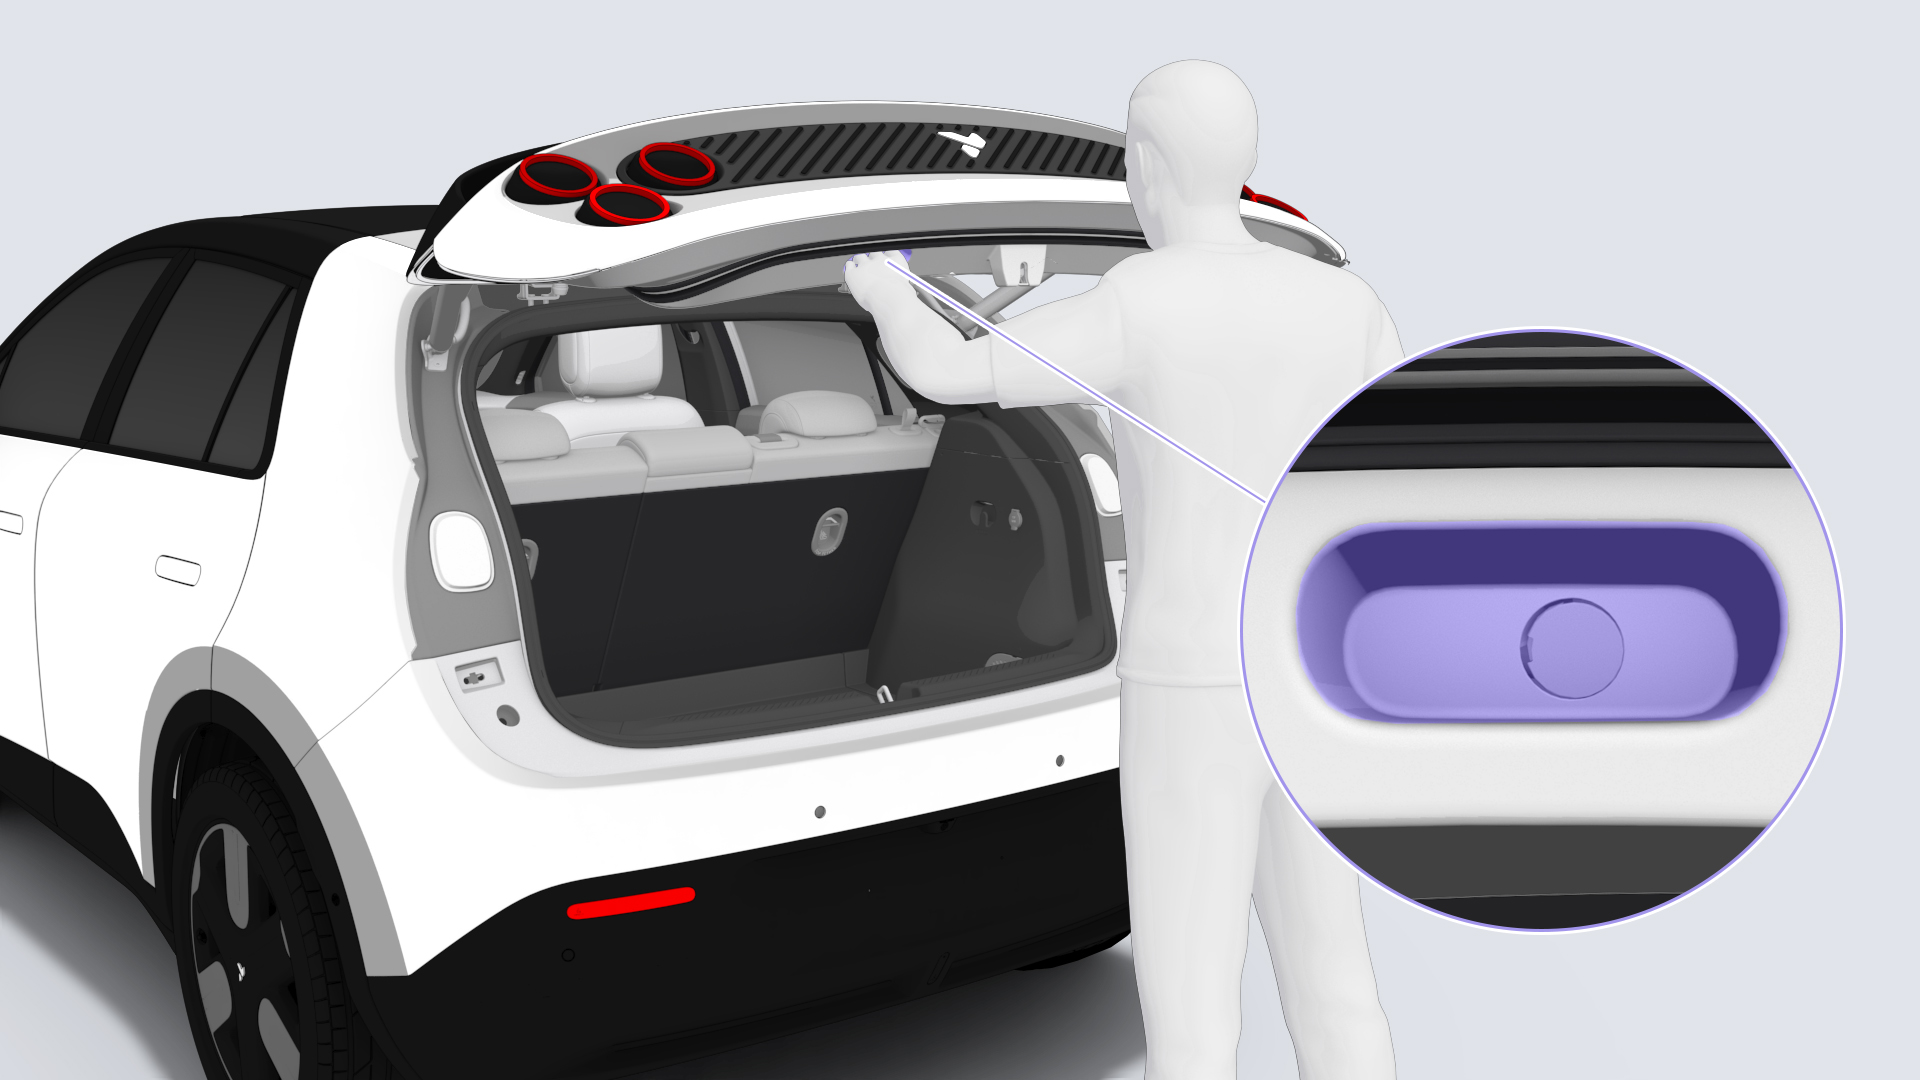
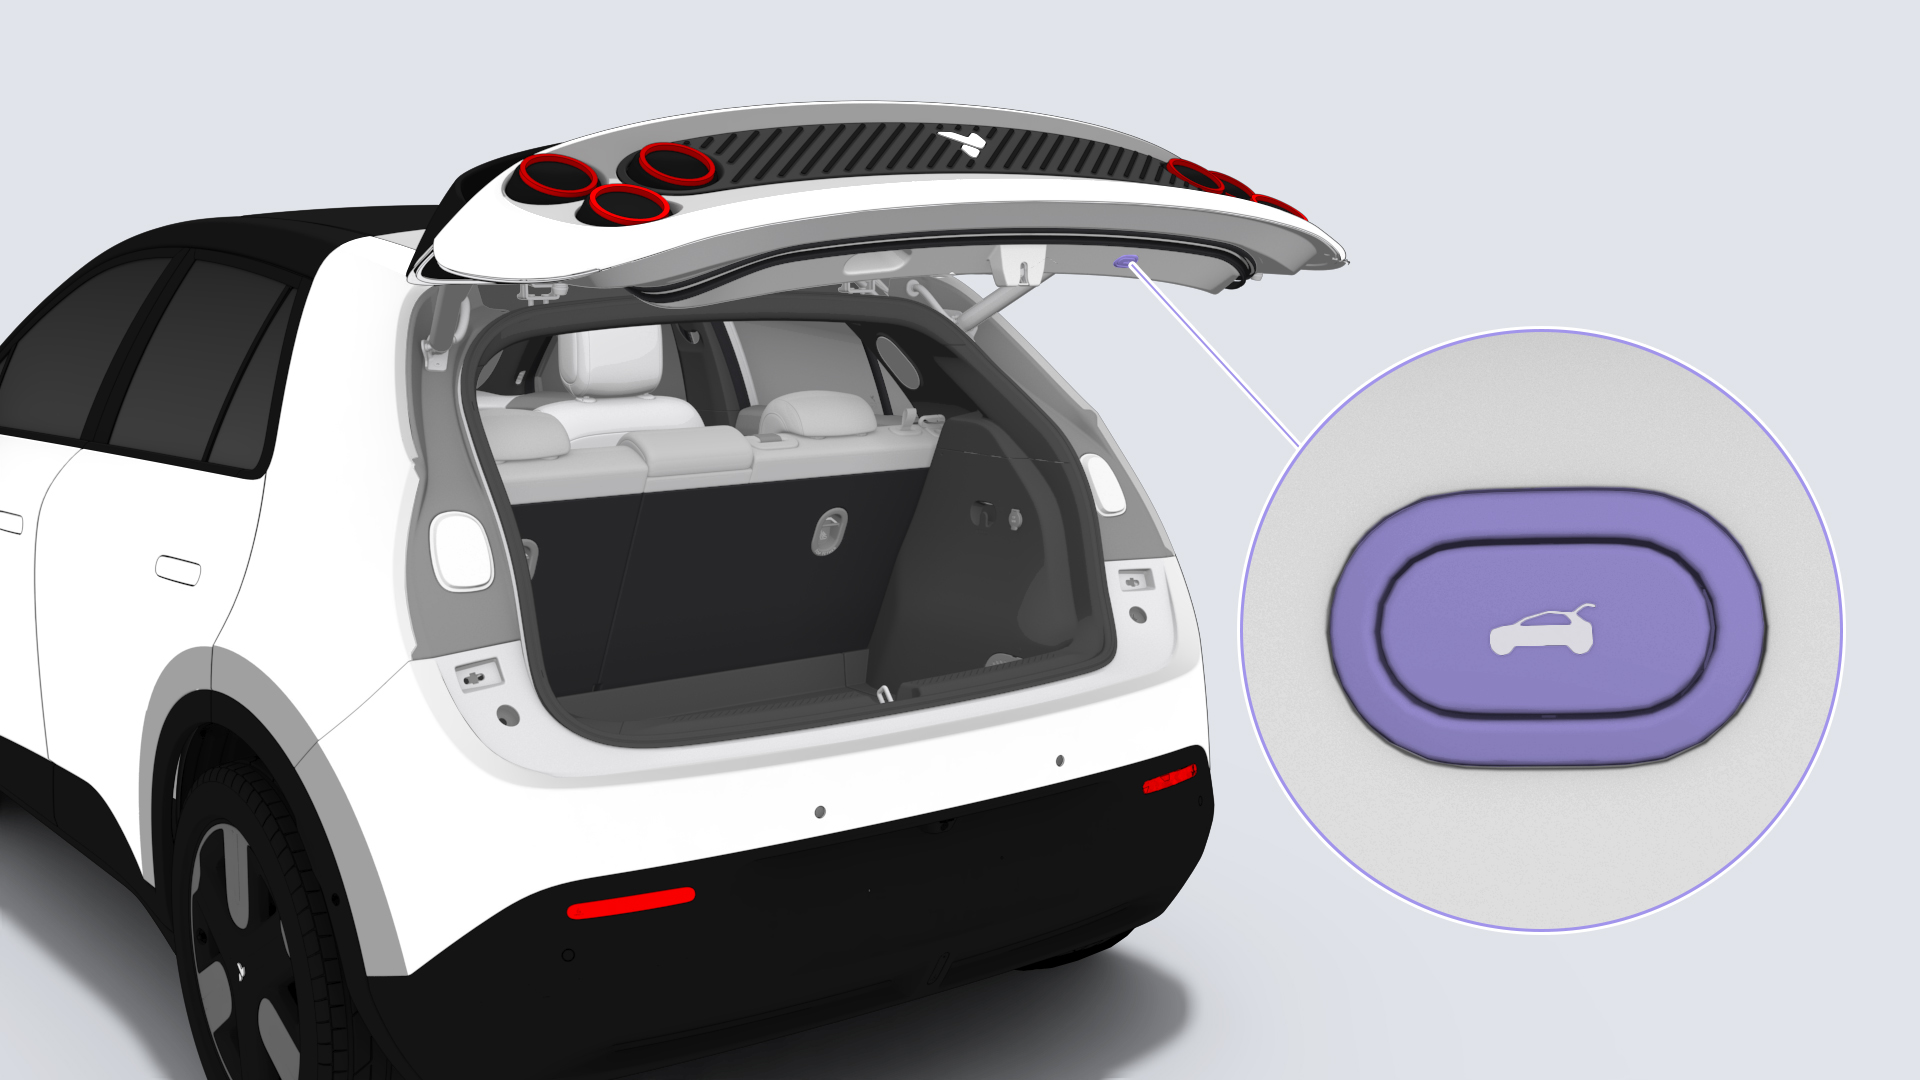
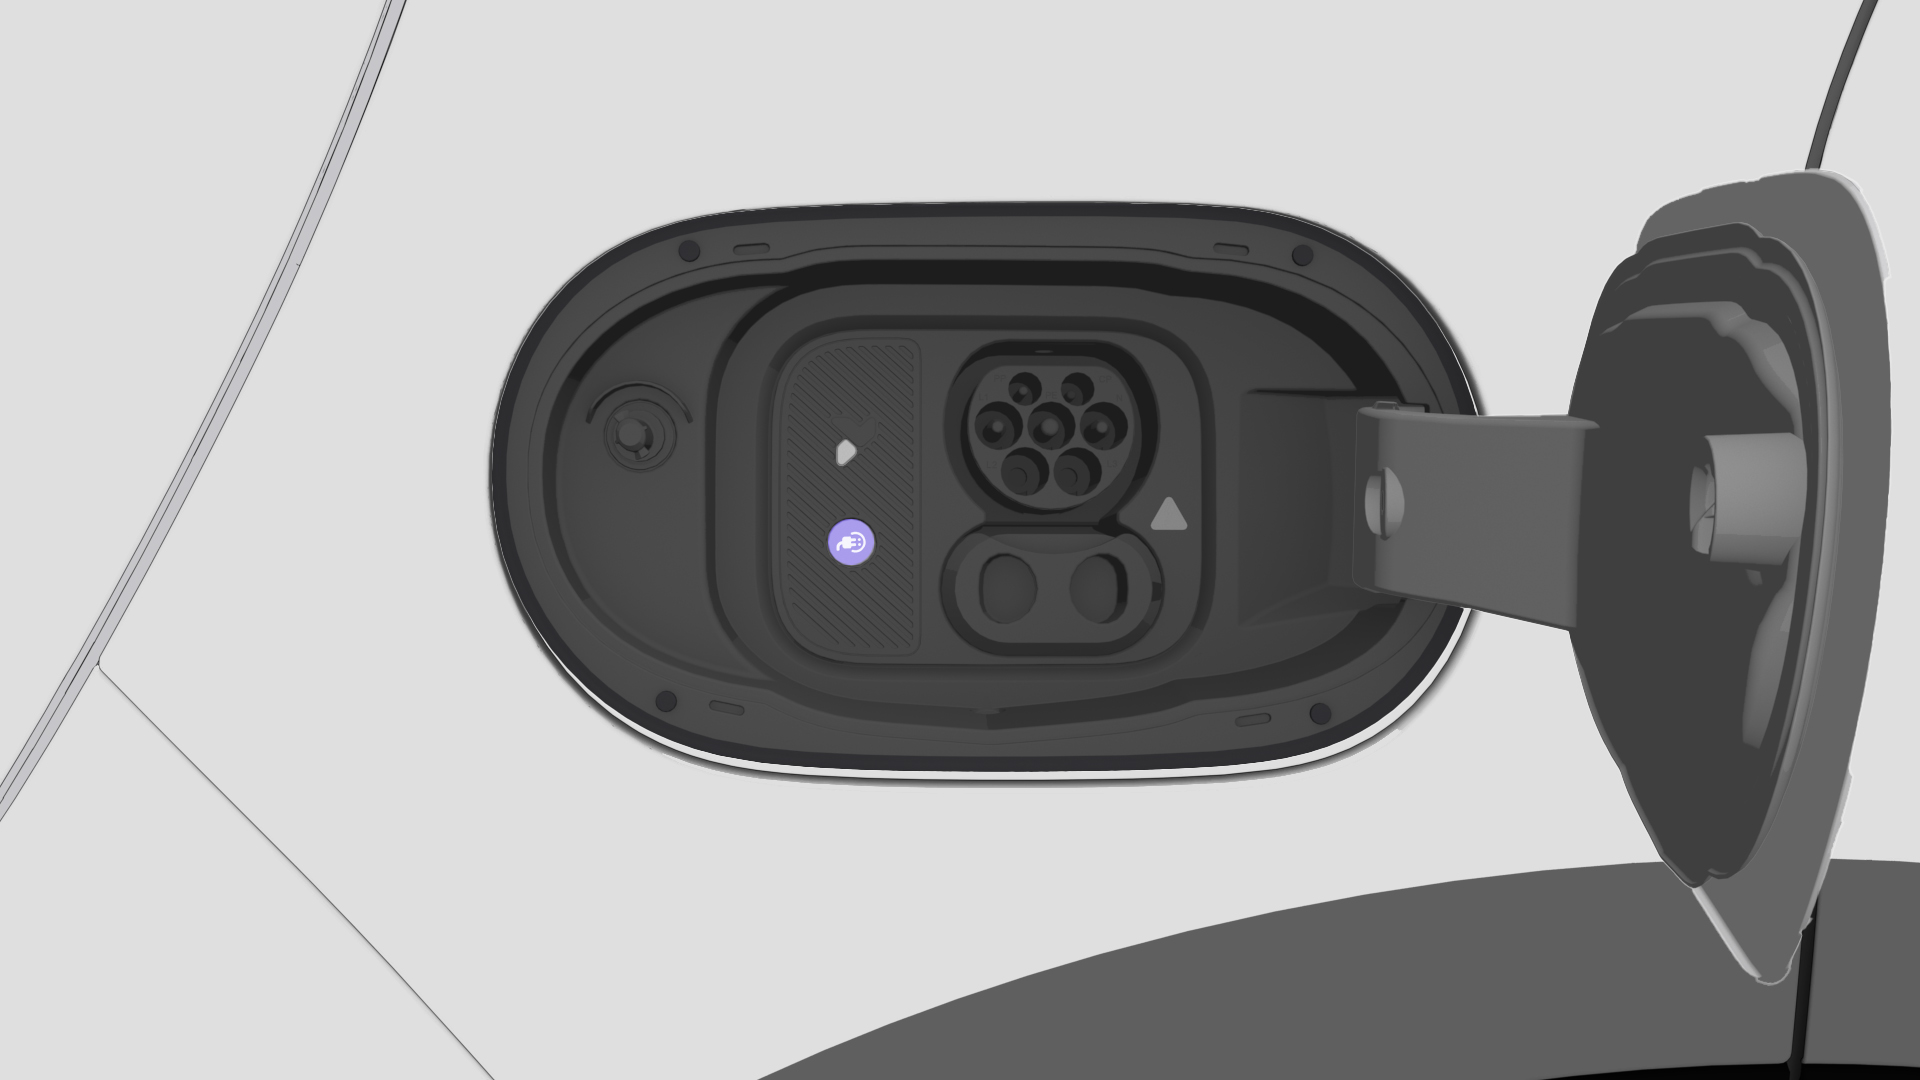
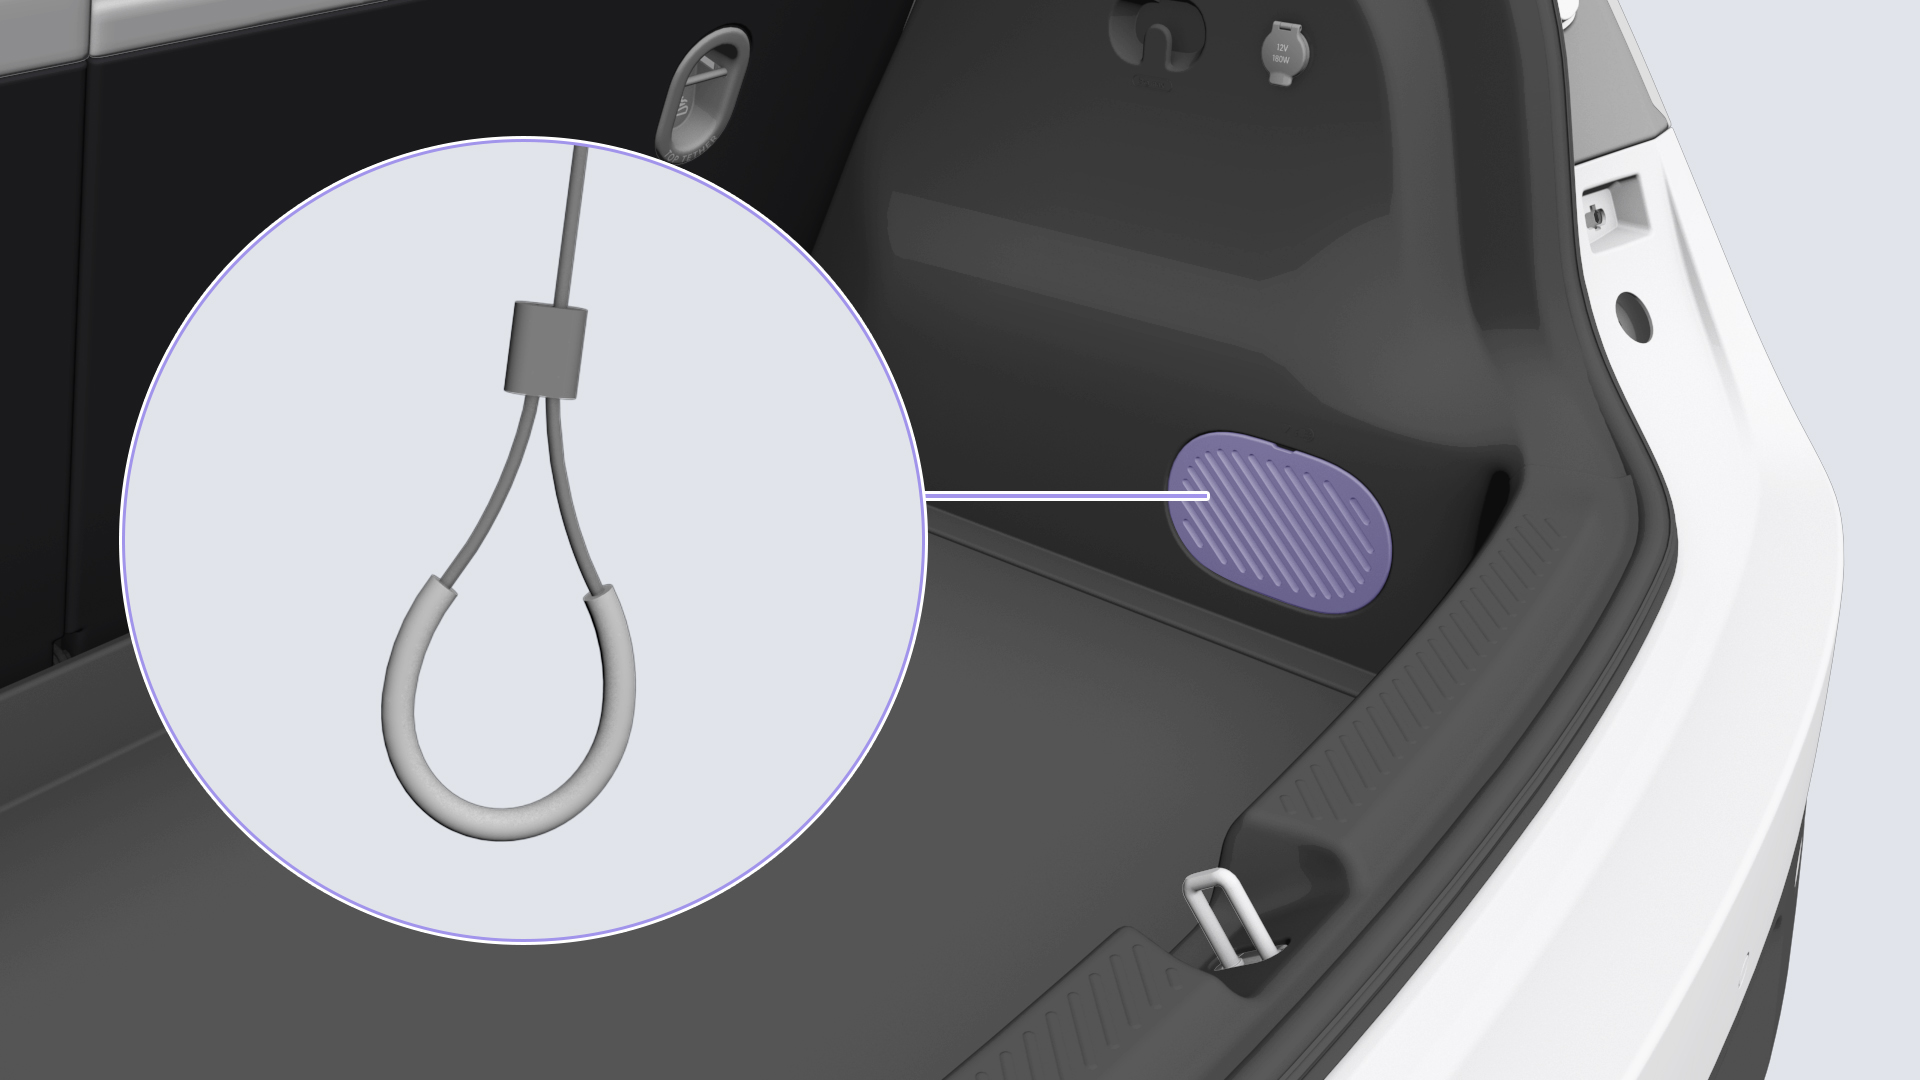
Before starting to wash the vehicle, please open the Application center panel from the bottom of the Control Panel, and tap lumo > Car wash mode to enable the mode, which helps reduce the chances of damaging vehicle components due to misoperation when washing the vehicle.
Warning
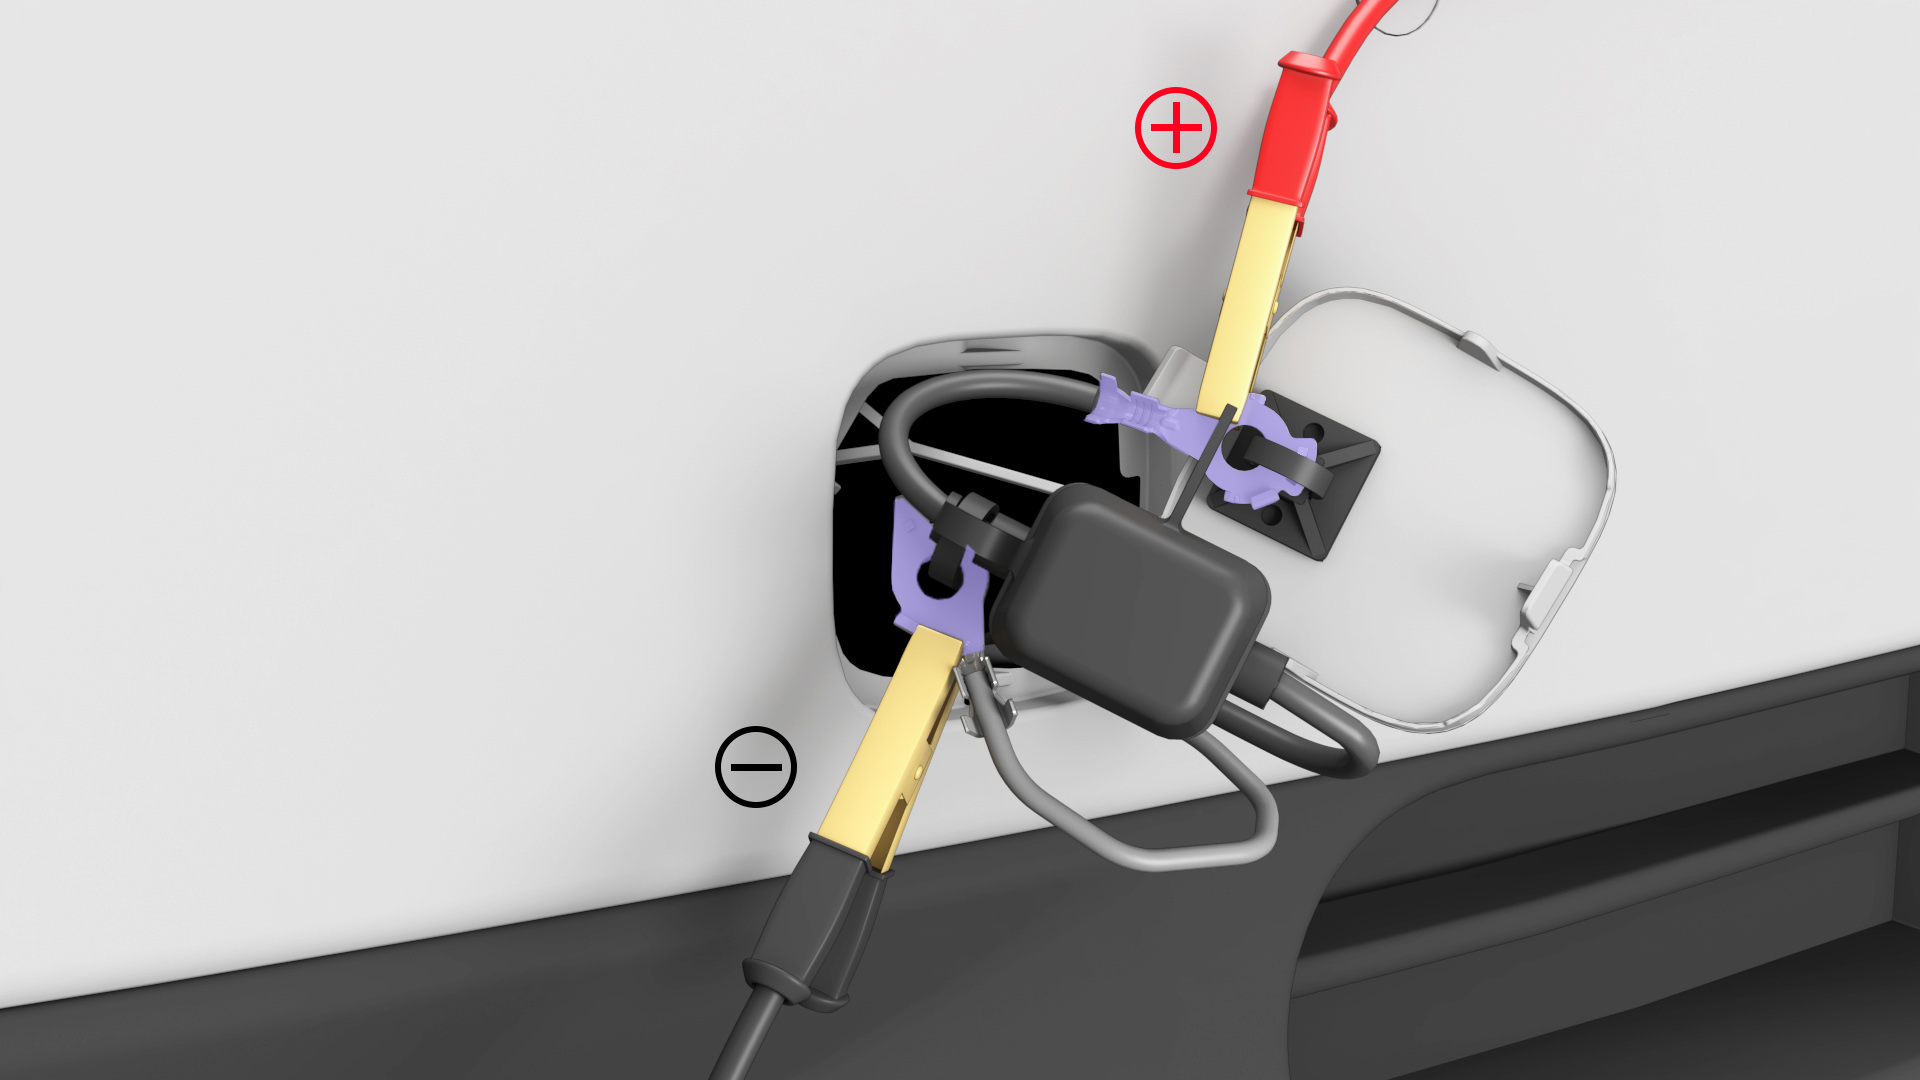
请勿在车辆充电时清洗车辆。
Do not wash the vehicle when it is charging.
Caution FY_外部保养通用注意 Before a car wash, you are strongly advised to enable Wash mode from the Control Panel, quickly close the windows with one touch, and disable the sensing function to avoid unnecessary losses.
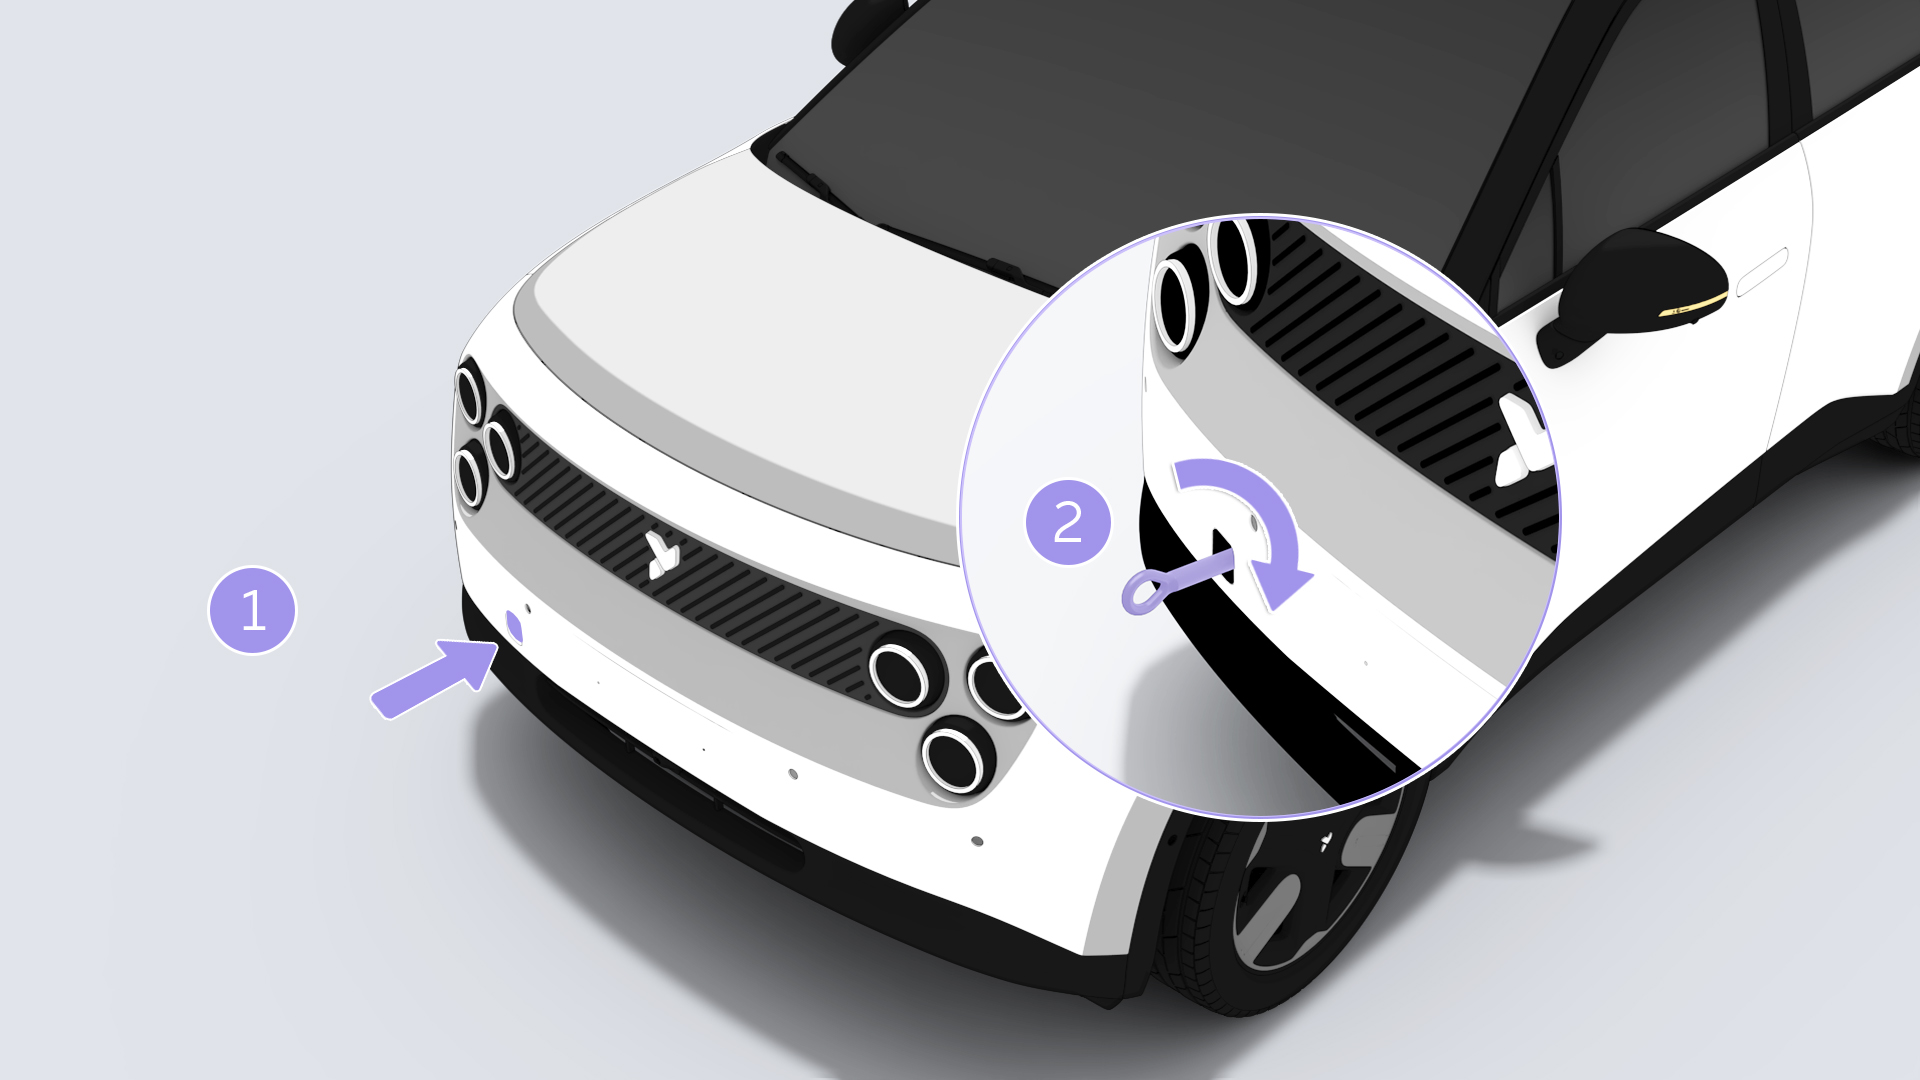
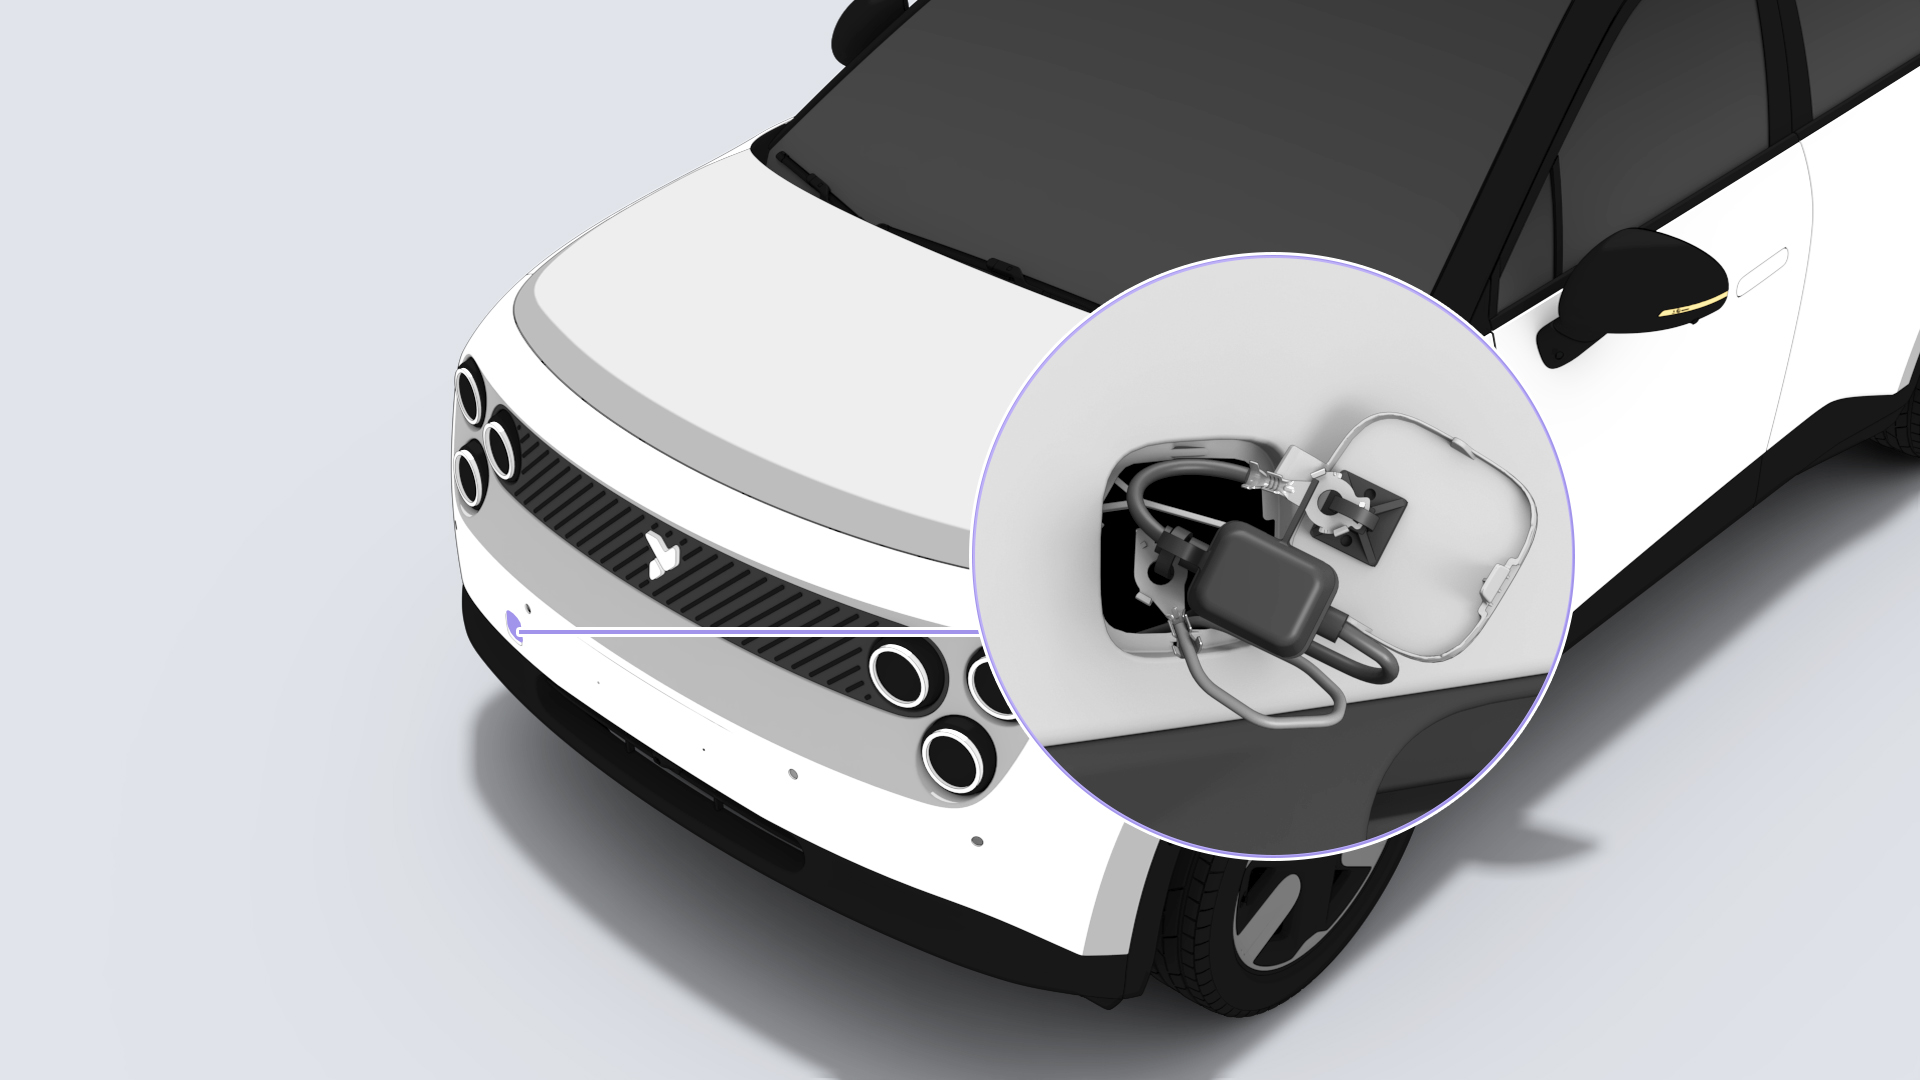
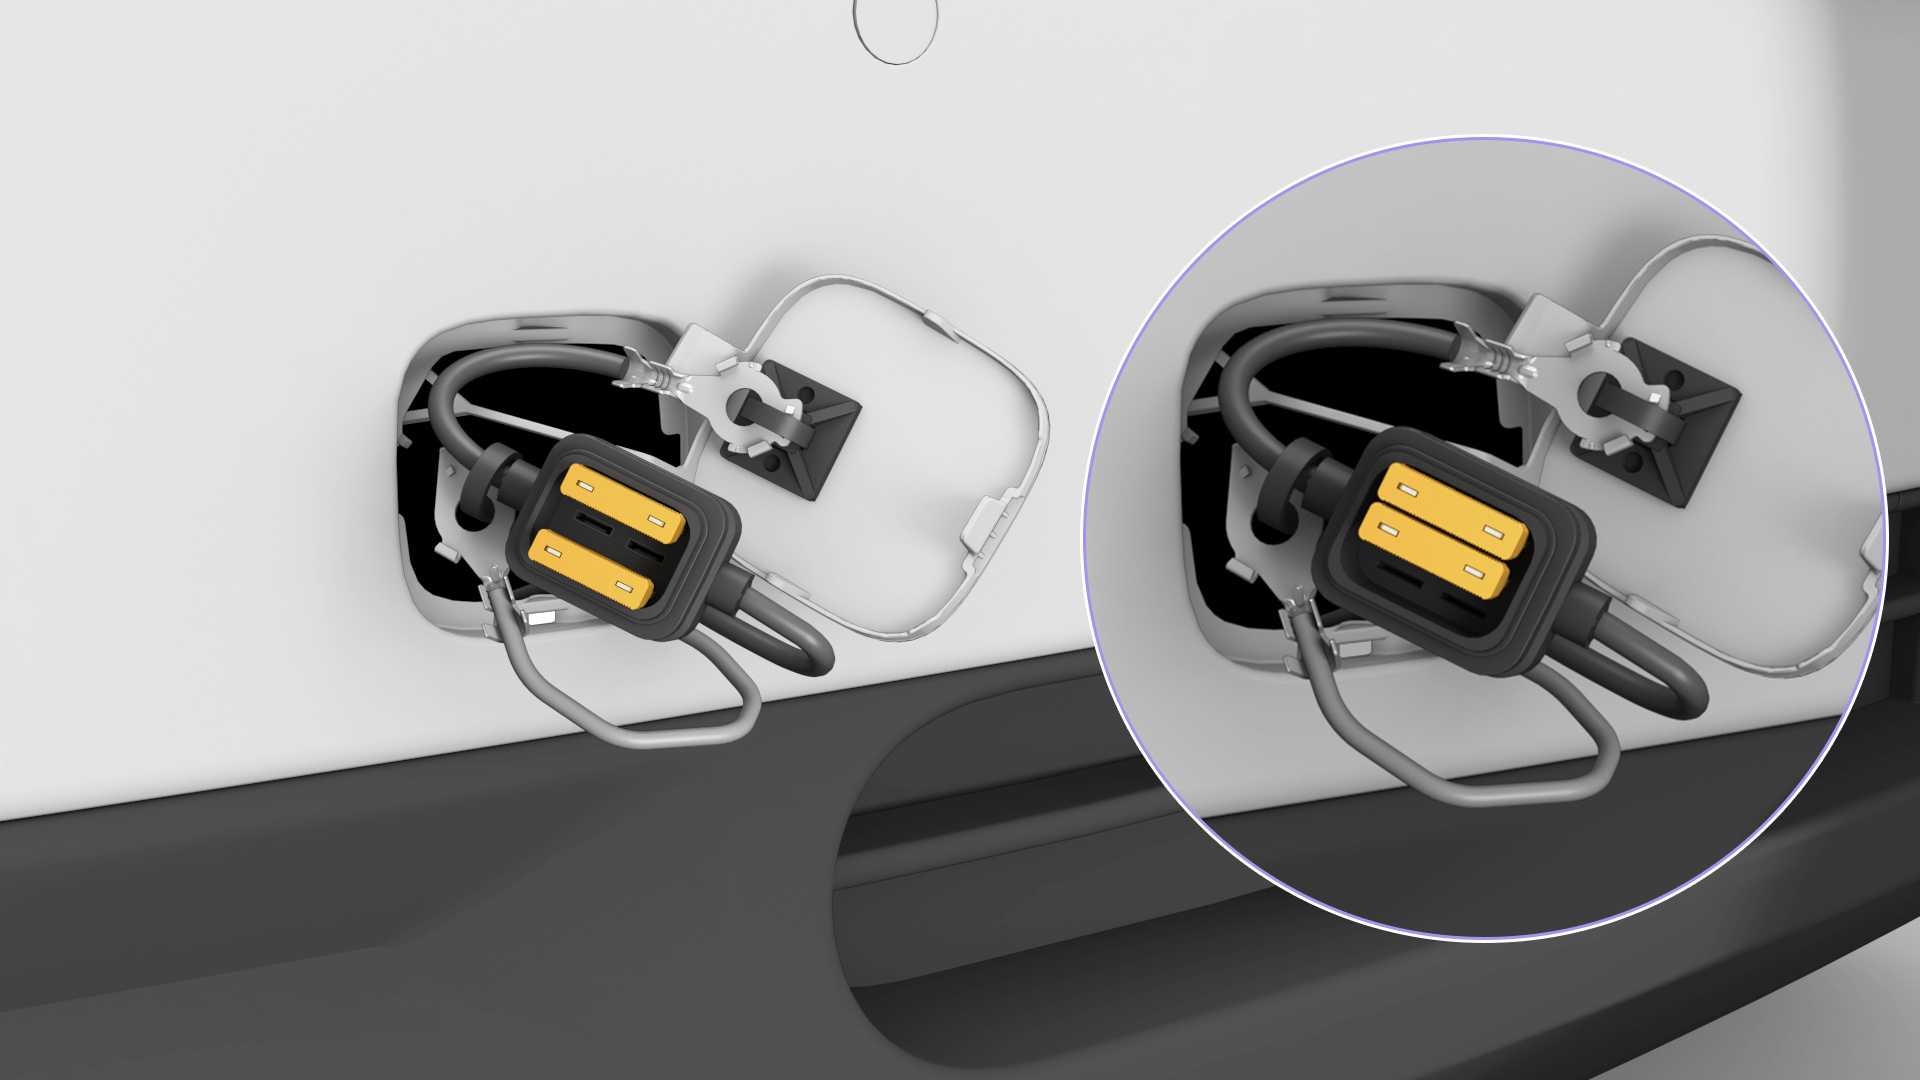
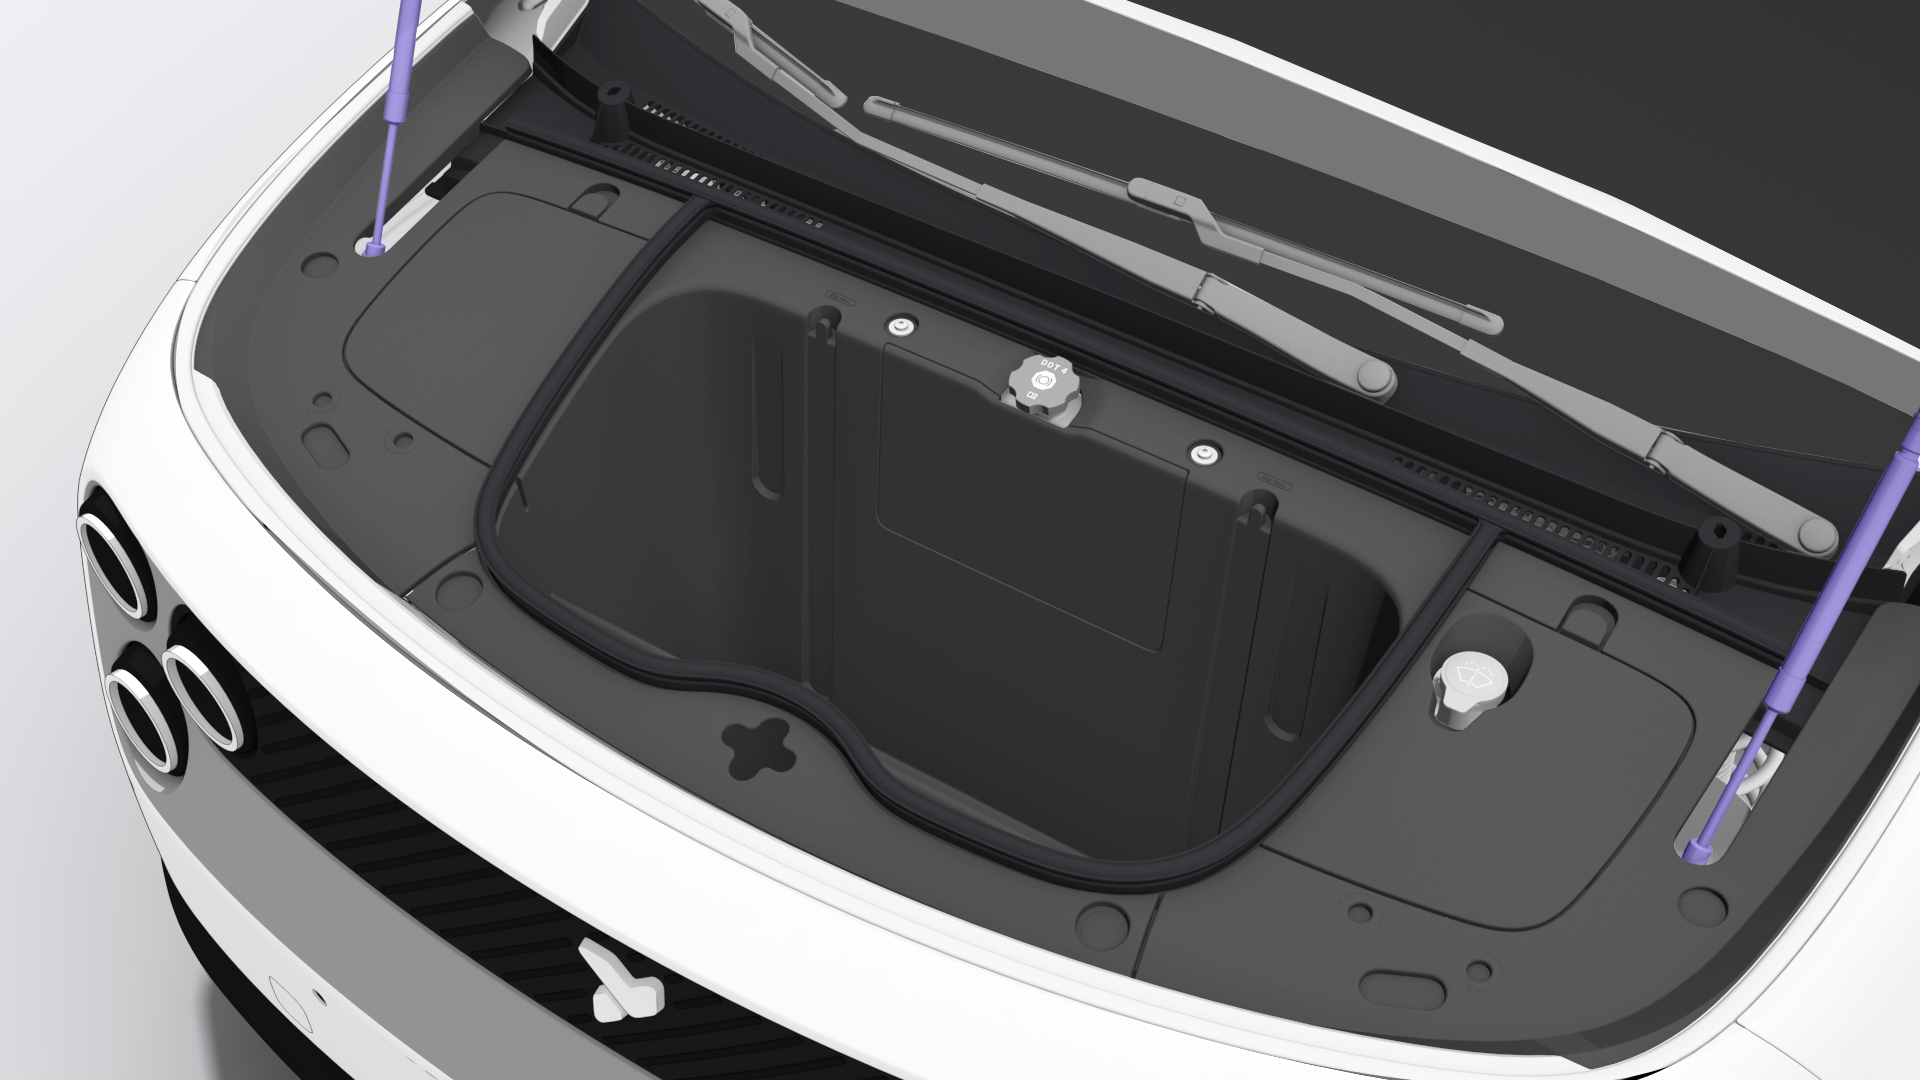
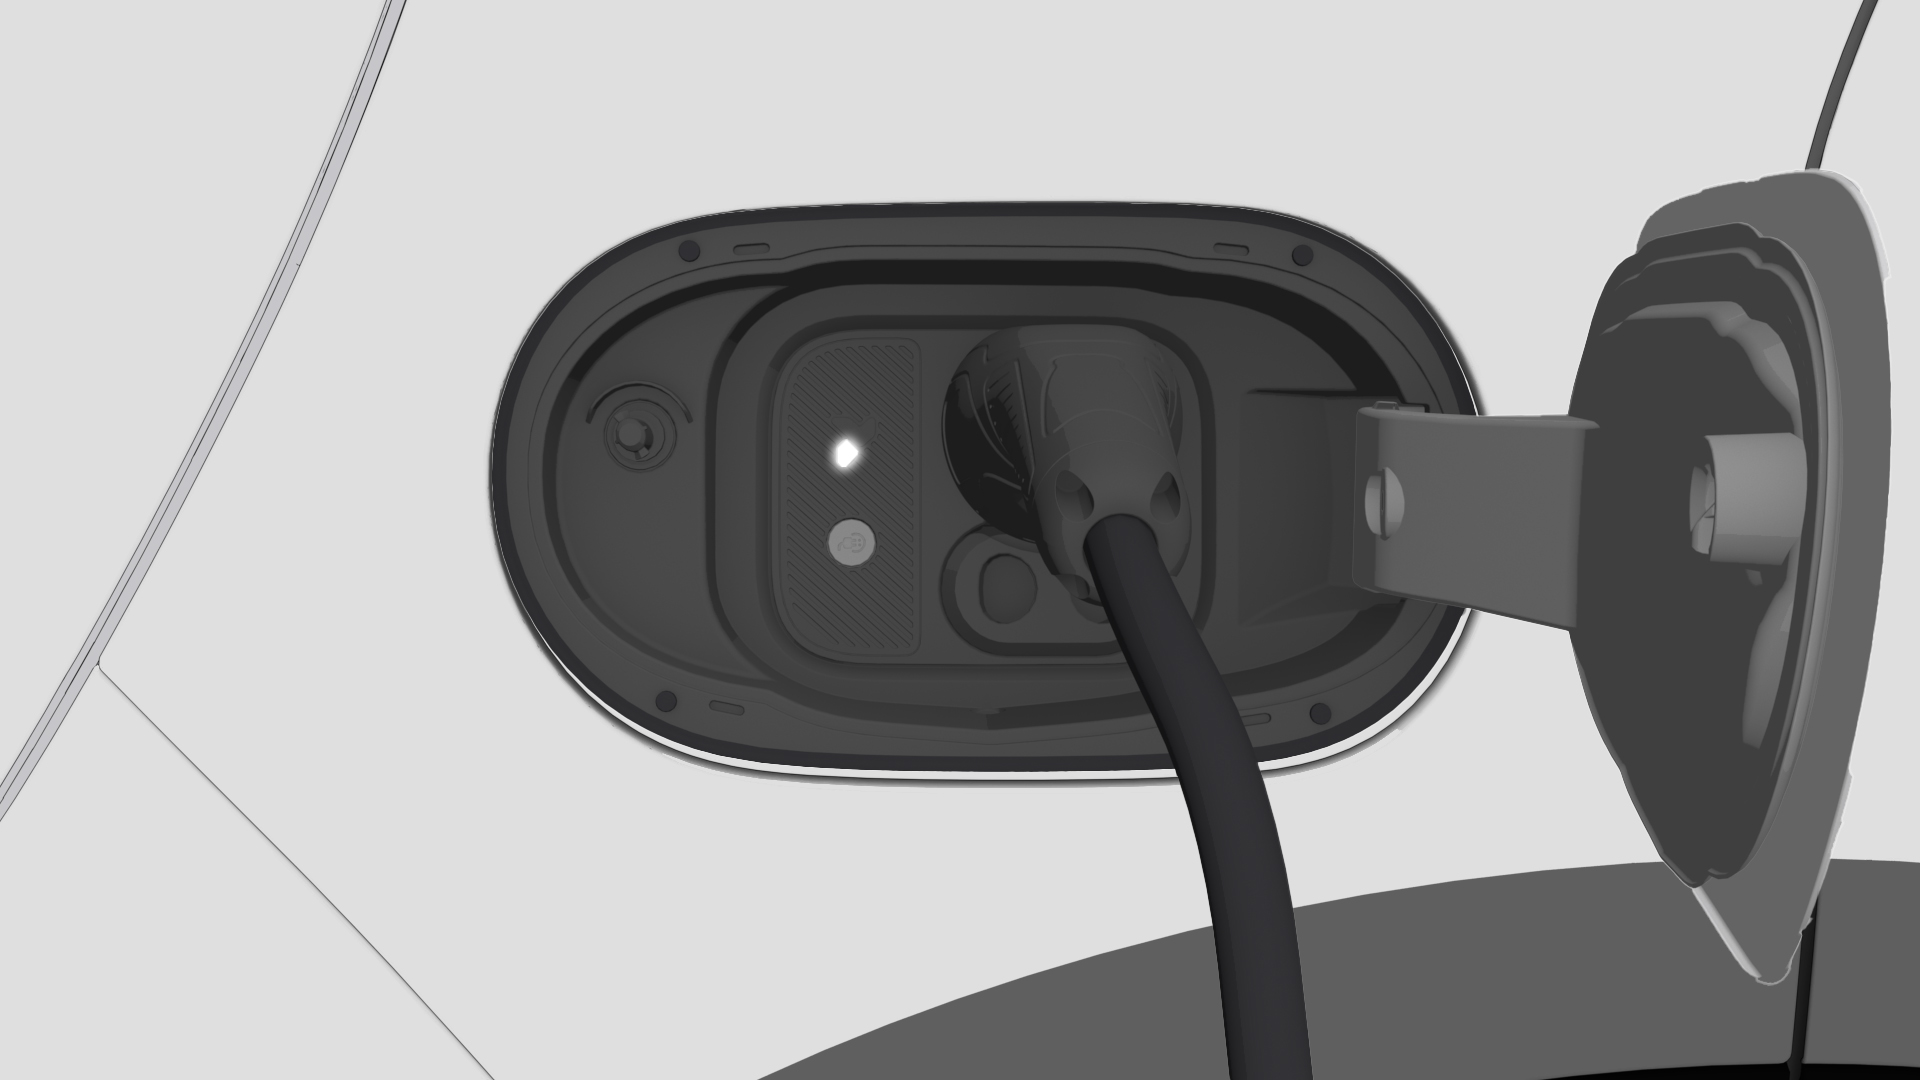
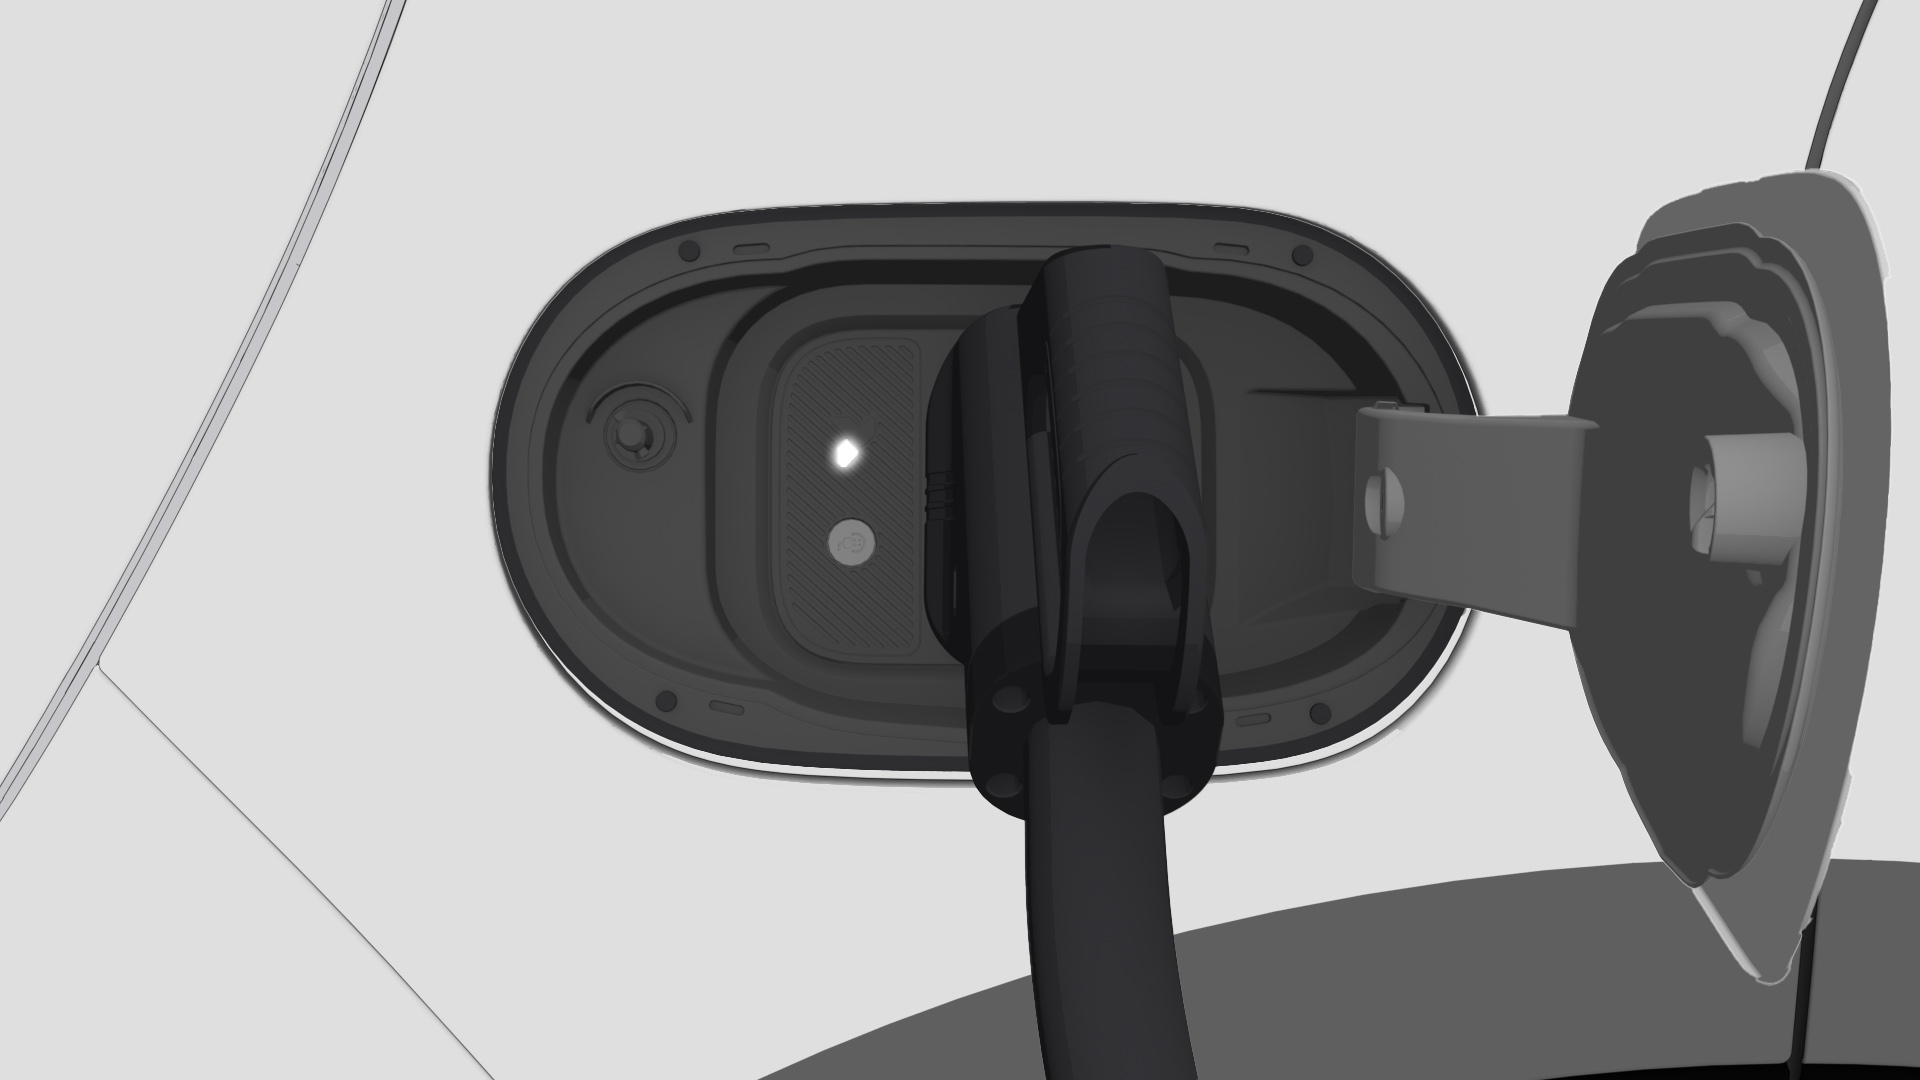
Before washing the vehicle, please manually close the charging/discharging port cover.
When washing and waxing the vehicle, use special-purpose cleaning and maintenance products. Check that the products are not expired before use and be sure to store them out of reach of children after use.
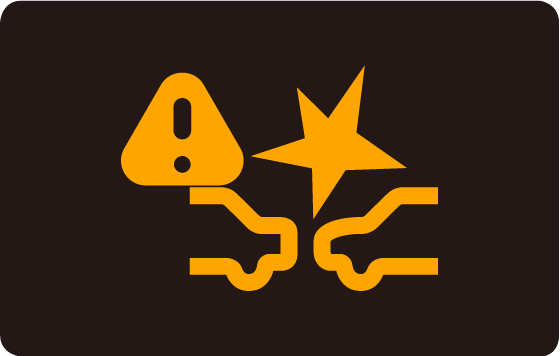
Any addition or modification to accessories on the vehicle will increase the risk of driving. The air intake grille and duct near the front bumper should not be obstructed in any form, as blockage may affect vehicle cooling and cause irreversible damage to the vehicle's thermal management system.
Manual Wash
When manually washing your vehicle, first use enough water to moisten the exterior surface of your vehicle and rinse off as much dirt as possible. Then, clean your vehicle carefully from the top down using a soft sponge, cloth, or soft brush. If there is dirt that is difficult to remove, a cleaning agent can be used. If there is a lot of dirt on the sponge or cloth, replacing it with a new cleaning sponge is recommended. After cleaning your vehicle, rinse it thoroughly with water and wipe it clean with a towel. After the salt spraying period ends in winter, the bottom of your vehicle needs to be thoroughly washed.
To protect the environment, please wash your vehicle on a dedicated washing platform. If this equipment is not available, you need to choose a suitable place to wash your vehicle.
Note FY_手动清洗_注意 Do not wash the vehicle in direct sunlight as this may damage the surface of the paint, headlights, and taillights.
When washing the vehicle with a hose in winter, do not aim directly at the outer handles, charge port, and seams around the doors. Otherwise, these parts may be frozen in place.
Do not use coarse sponges and corrosive cleaning agents to wash the vehicle to avoid damaging the surface of the paint.
Do not wash the vehicle with water above 60°C.
Do not use a dry cloth or sponge to clean the lights. Use only water or soapy water.
Alcohol-based or organic cleaning agents may damage the lights and cause them to crack. Make sure the lights are protected when cleaning or applying film on the vehicle.
Automatic Wash
Automatic car washes may be used, but their brush mechanisms, filtration systems, and detergent and maintenance agent formulations can affect the vehicle's paint finish. If the paint loses gloss or shows scratches after washing, immediately notify the equipment operator and replace car washing equipment if necessary.
Before automatic washing, ensure all windows and doors are closed, automatic wipers deactivated, and side mirrors folded. Additionally, notify the operator about roof racks or radio antennas.
Caution FY_洗车模式_注意Before a car wash, you are strongly advised to enable Car wash mode from the Control Panel, quickly close the windows with one touch, and disable the sensing function to avoid unnecessary losses.
Before washing the vehicle, please manually close the charging/discharging port cover.
Before your vehicle undergoes a tunnel-type automatic car wash, please first enable the Neutral (N) gear mode, then enable the Car wash mode.
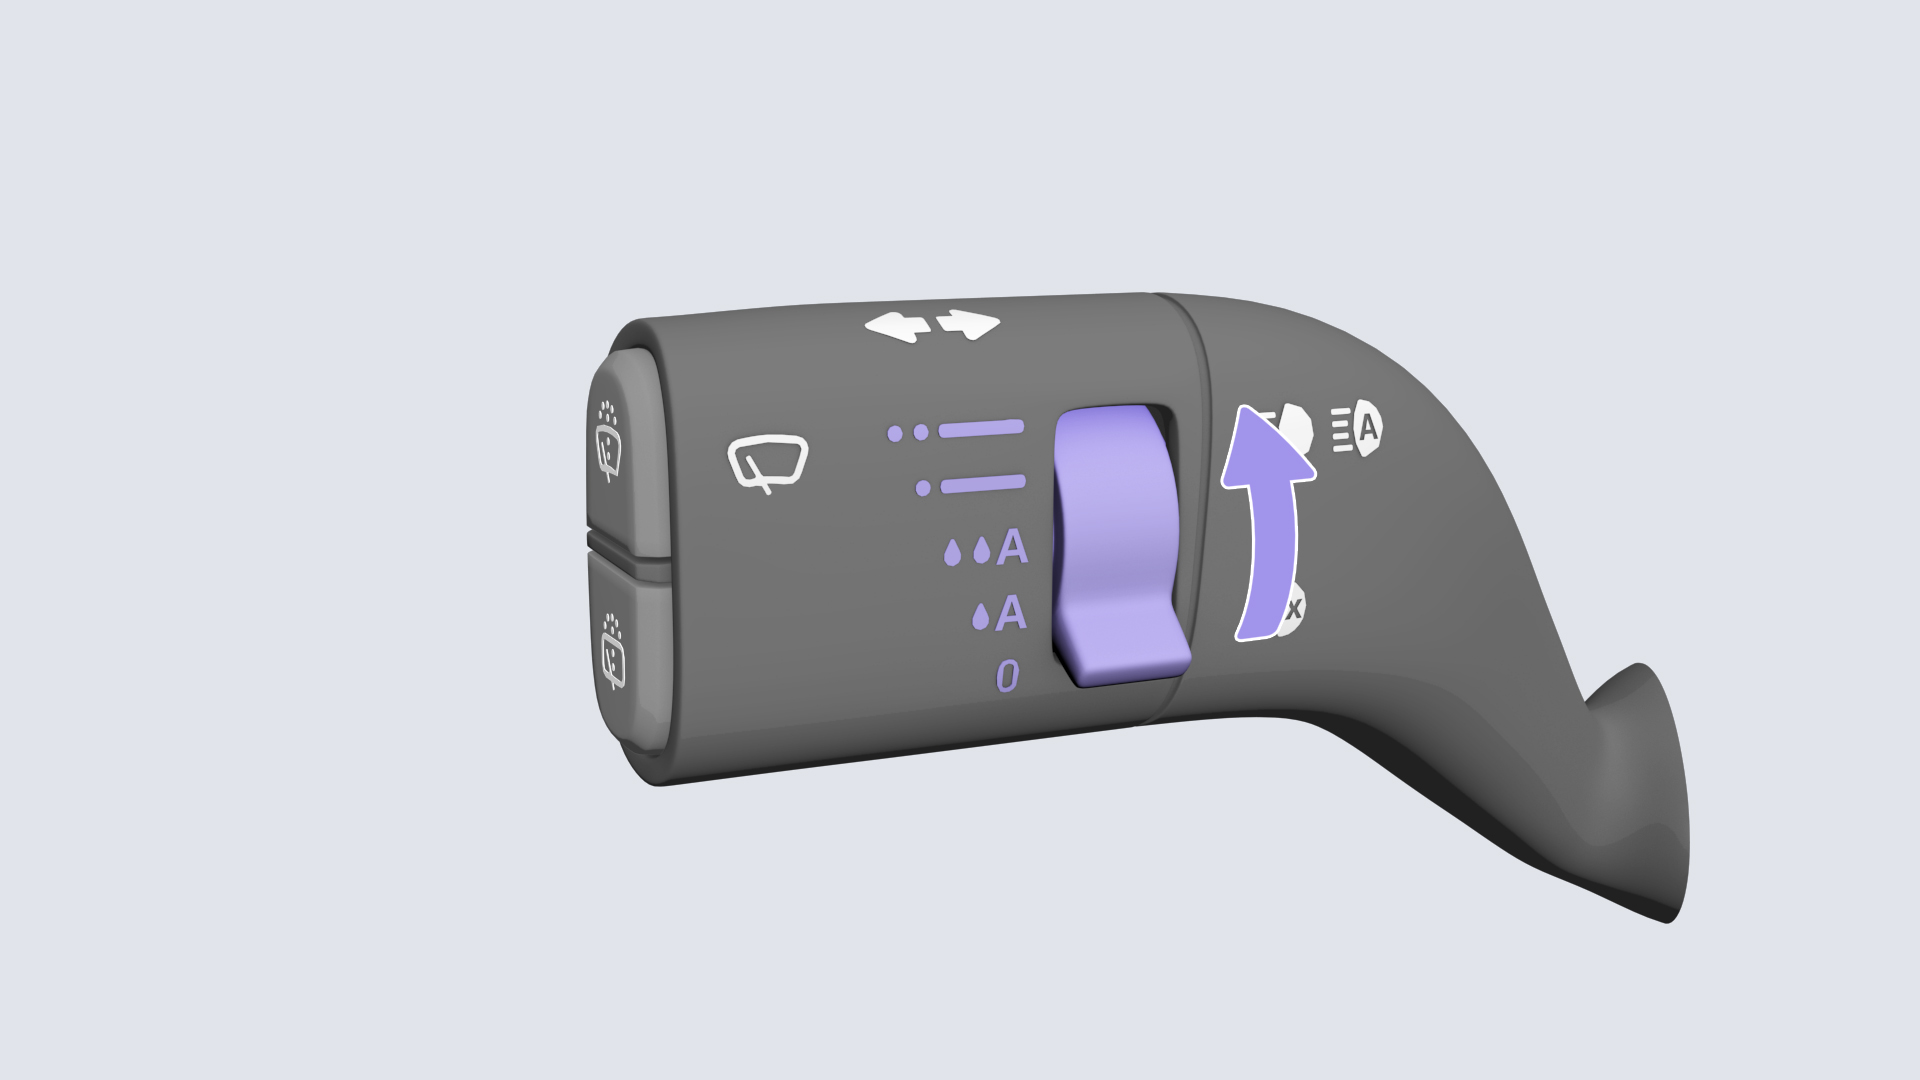
Do not enable the Wiper service mode before using a contact-type car wash (with brush/foam).
High Pressure Wash
When using a high pressure washing machine to wash your vehicle, always follow the operating instructions, and maintain a sufficient distance between the spraying nozzle and the paintwork or soft materials (such as rubber hoses or sound insulation materials). Maintain a minimum 500 mm spray distance with pressure below 100 bar and water temperature under 60°C. Always spray perpendicular to surfaces to prevent component damage or water intrusion.
Do not use pinpoint or rotary nozzles, especially on tires, as even brief exposure at extended distances may cause damage.
Never use a high pressure washing machine to rinse your vehicle nameplate and the gaps at the edges and corners of the door glass.
Polishing and Waxing
A high quality wax layer can effectively protect your vehicle's paintwork from environmental influences and even prevent minor scratches. Apply premium hard wax immediately when water no longer beads uniformly on cleaned paint surfaces. With regular use of cleaning conditioners, apply hard wax at least twice a year for optimal paint protection.
Polishing is only necessary when the body paintwork has lost its gloss, and the waxing cannot restore its glossy appearance. Do not polish components coated with matte paint or plastic parts.
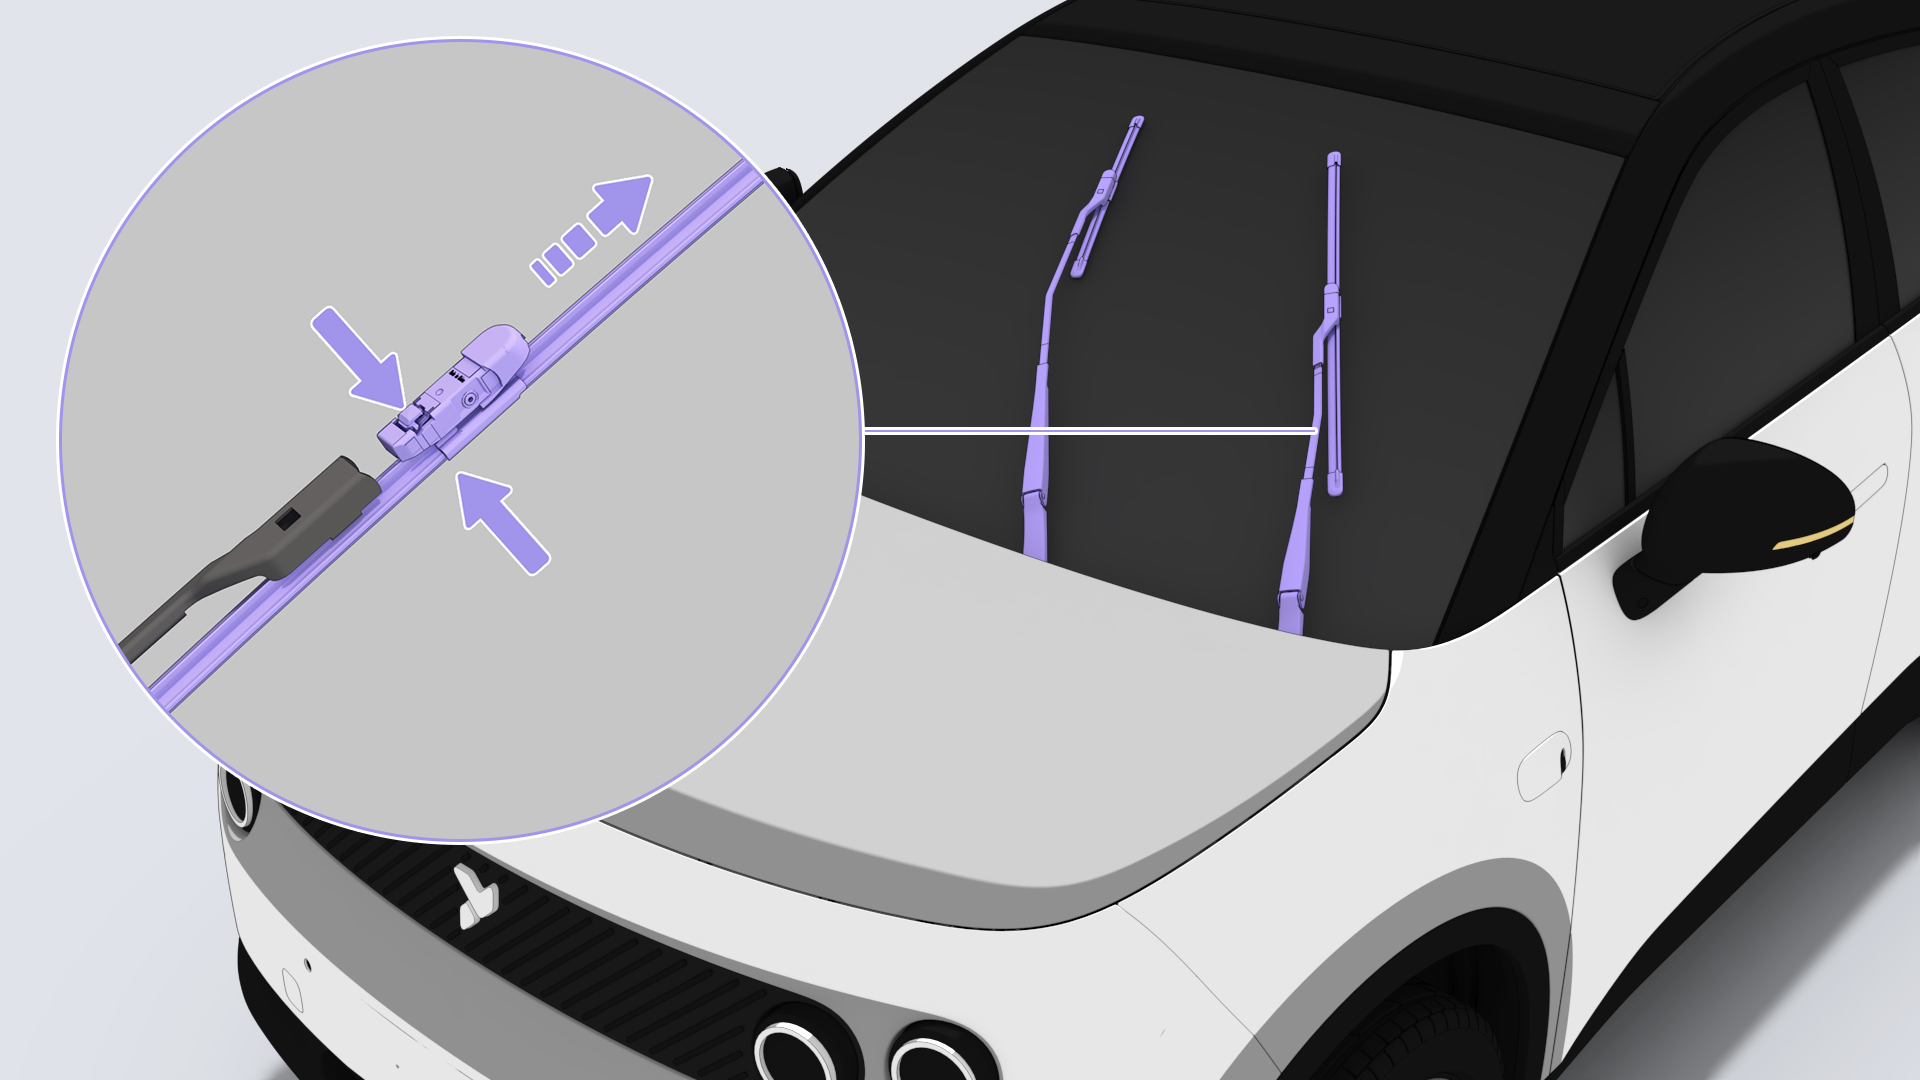
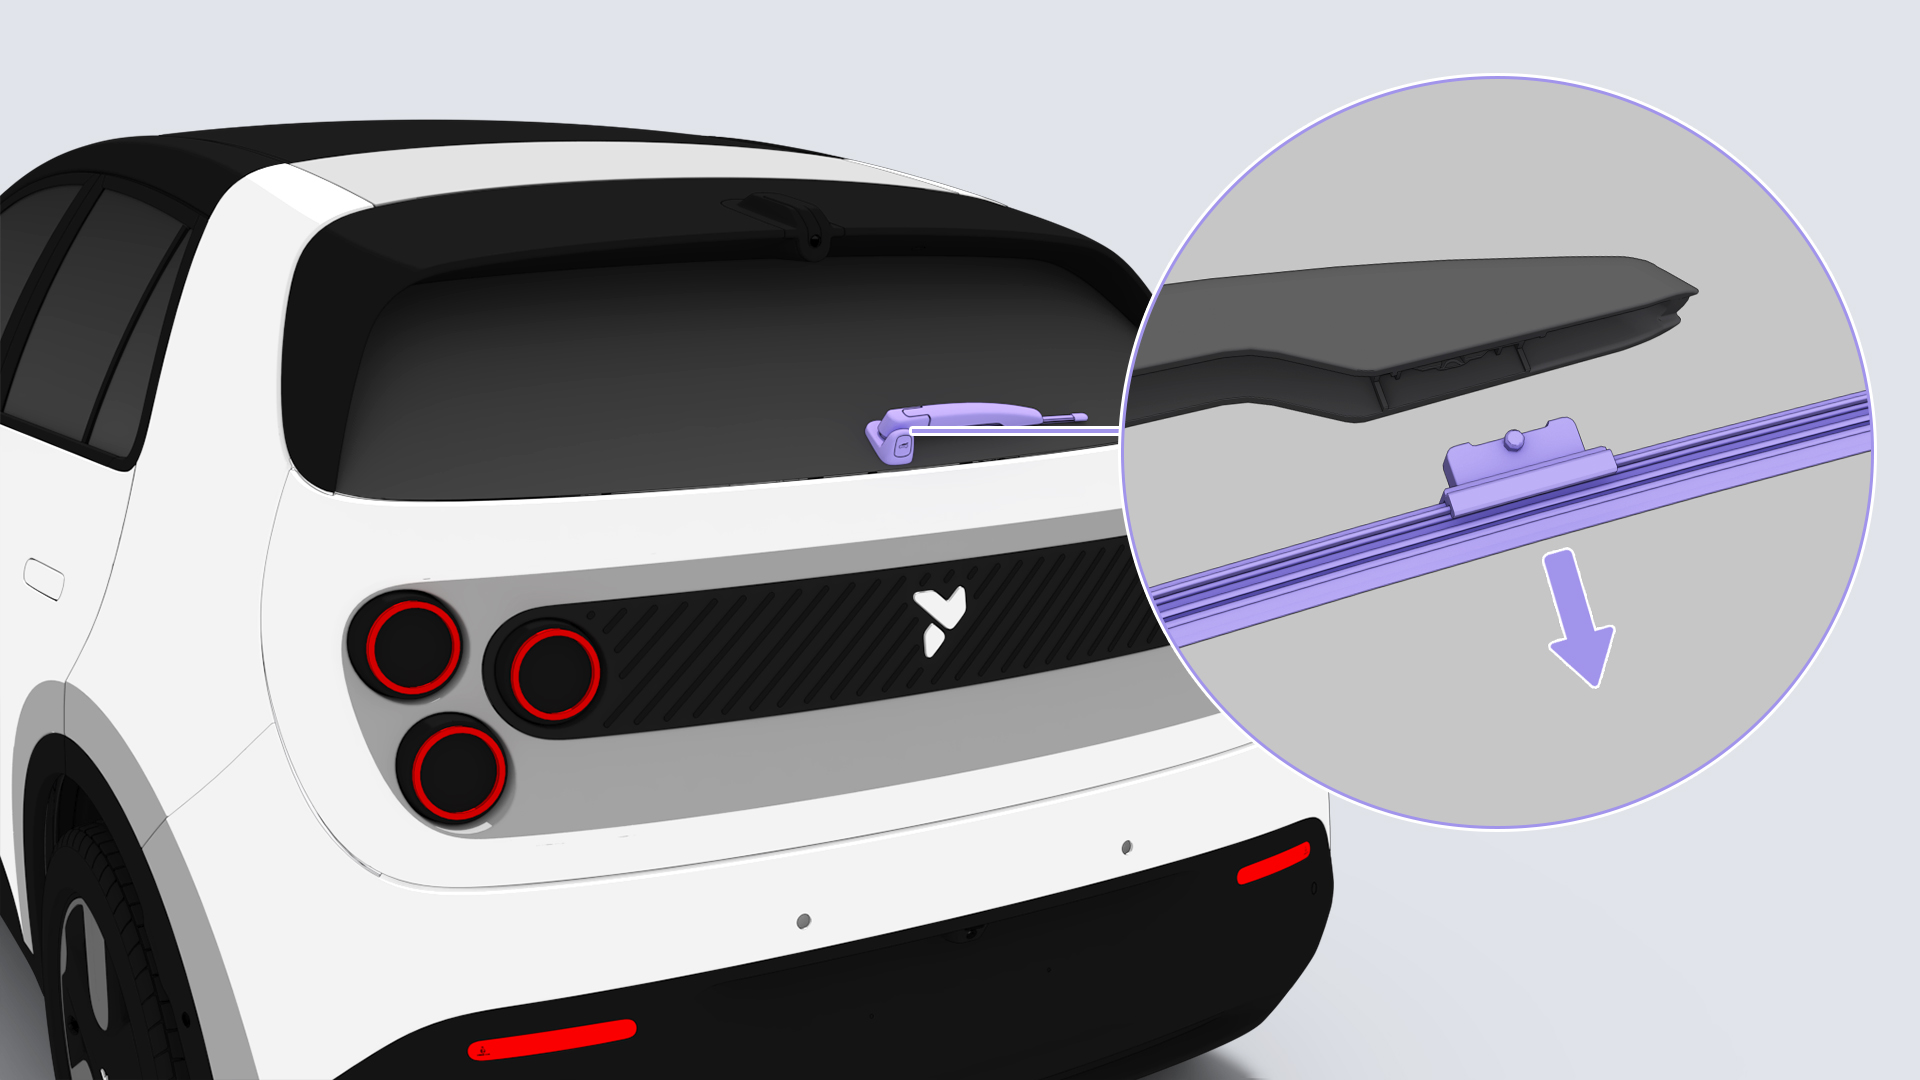
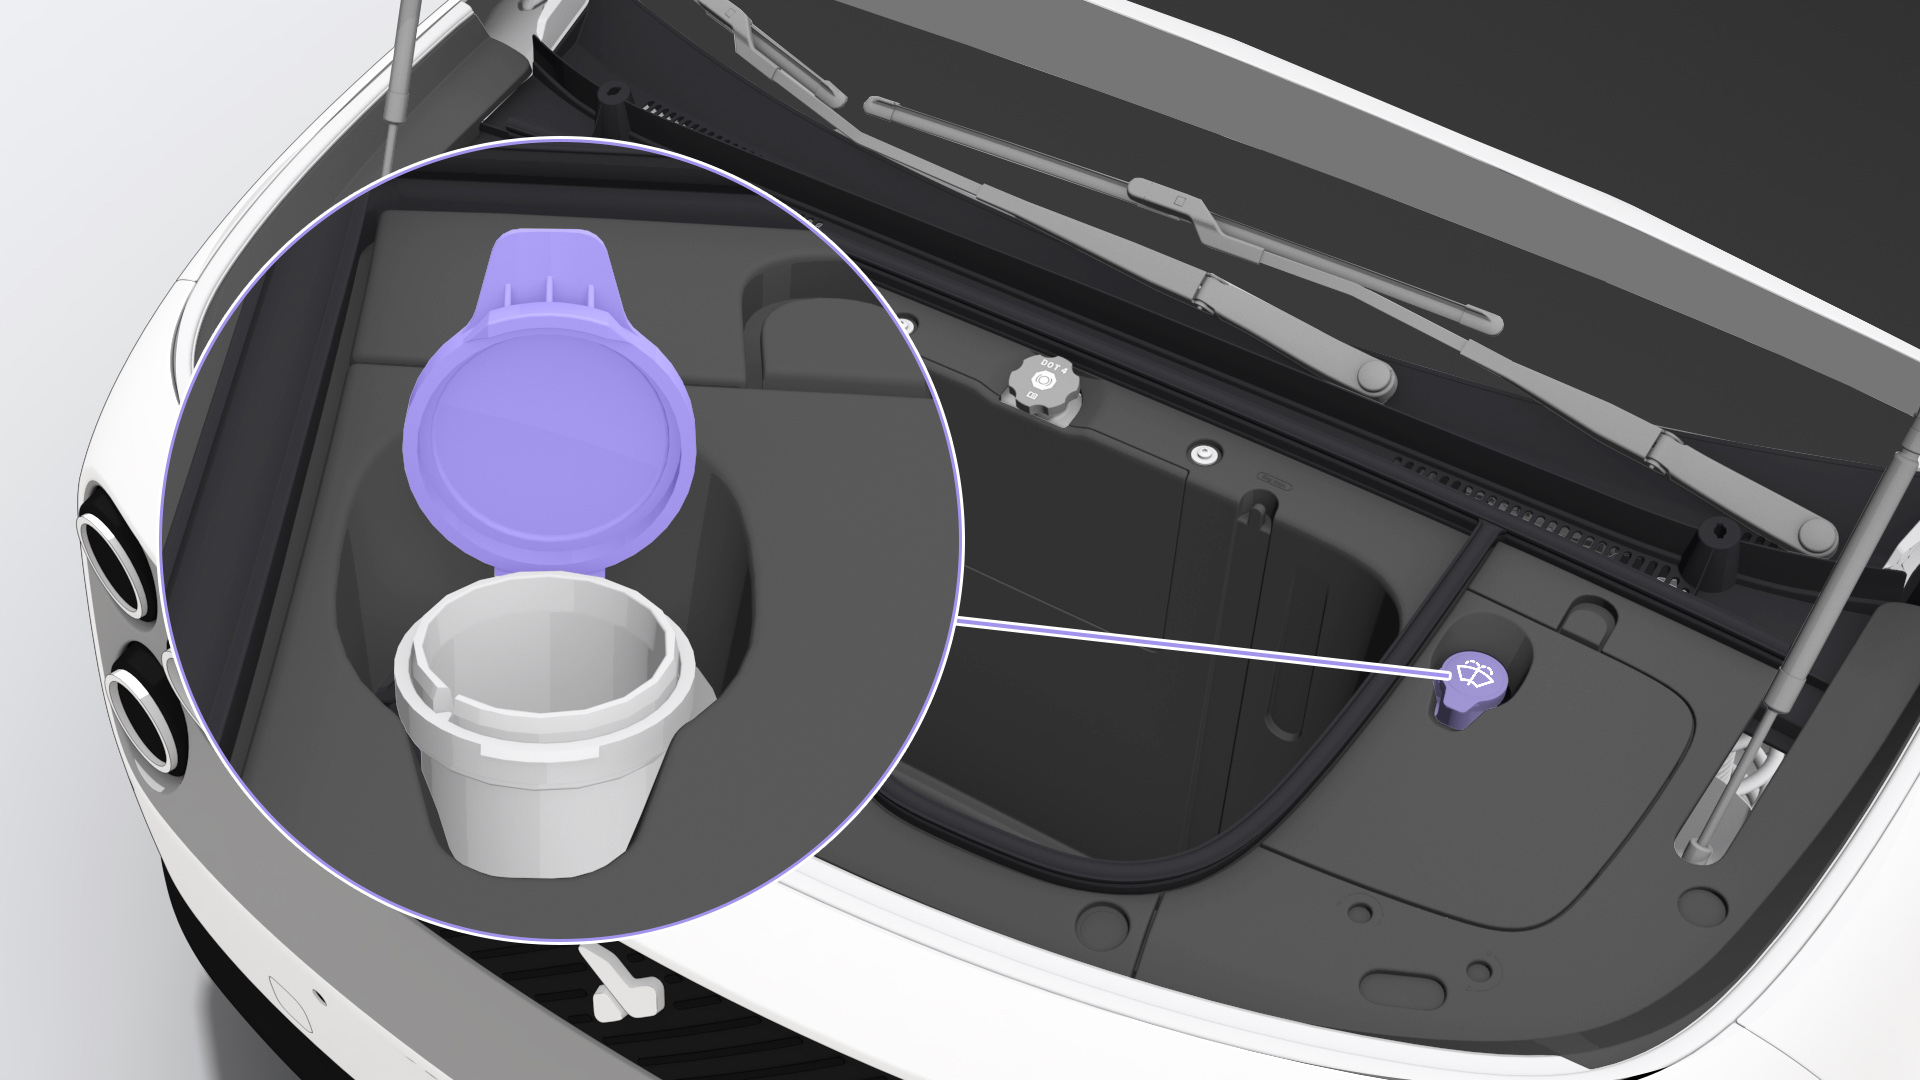
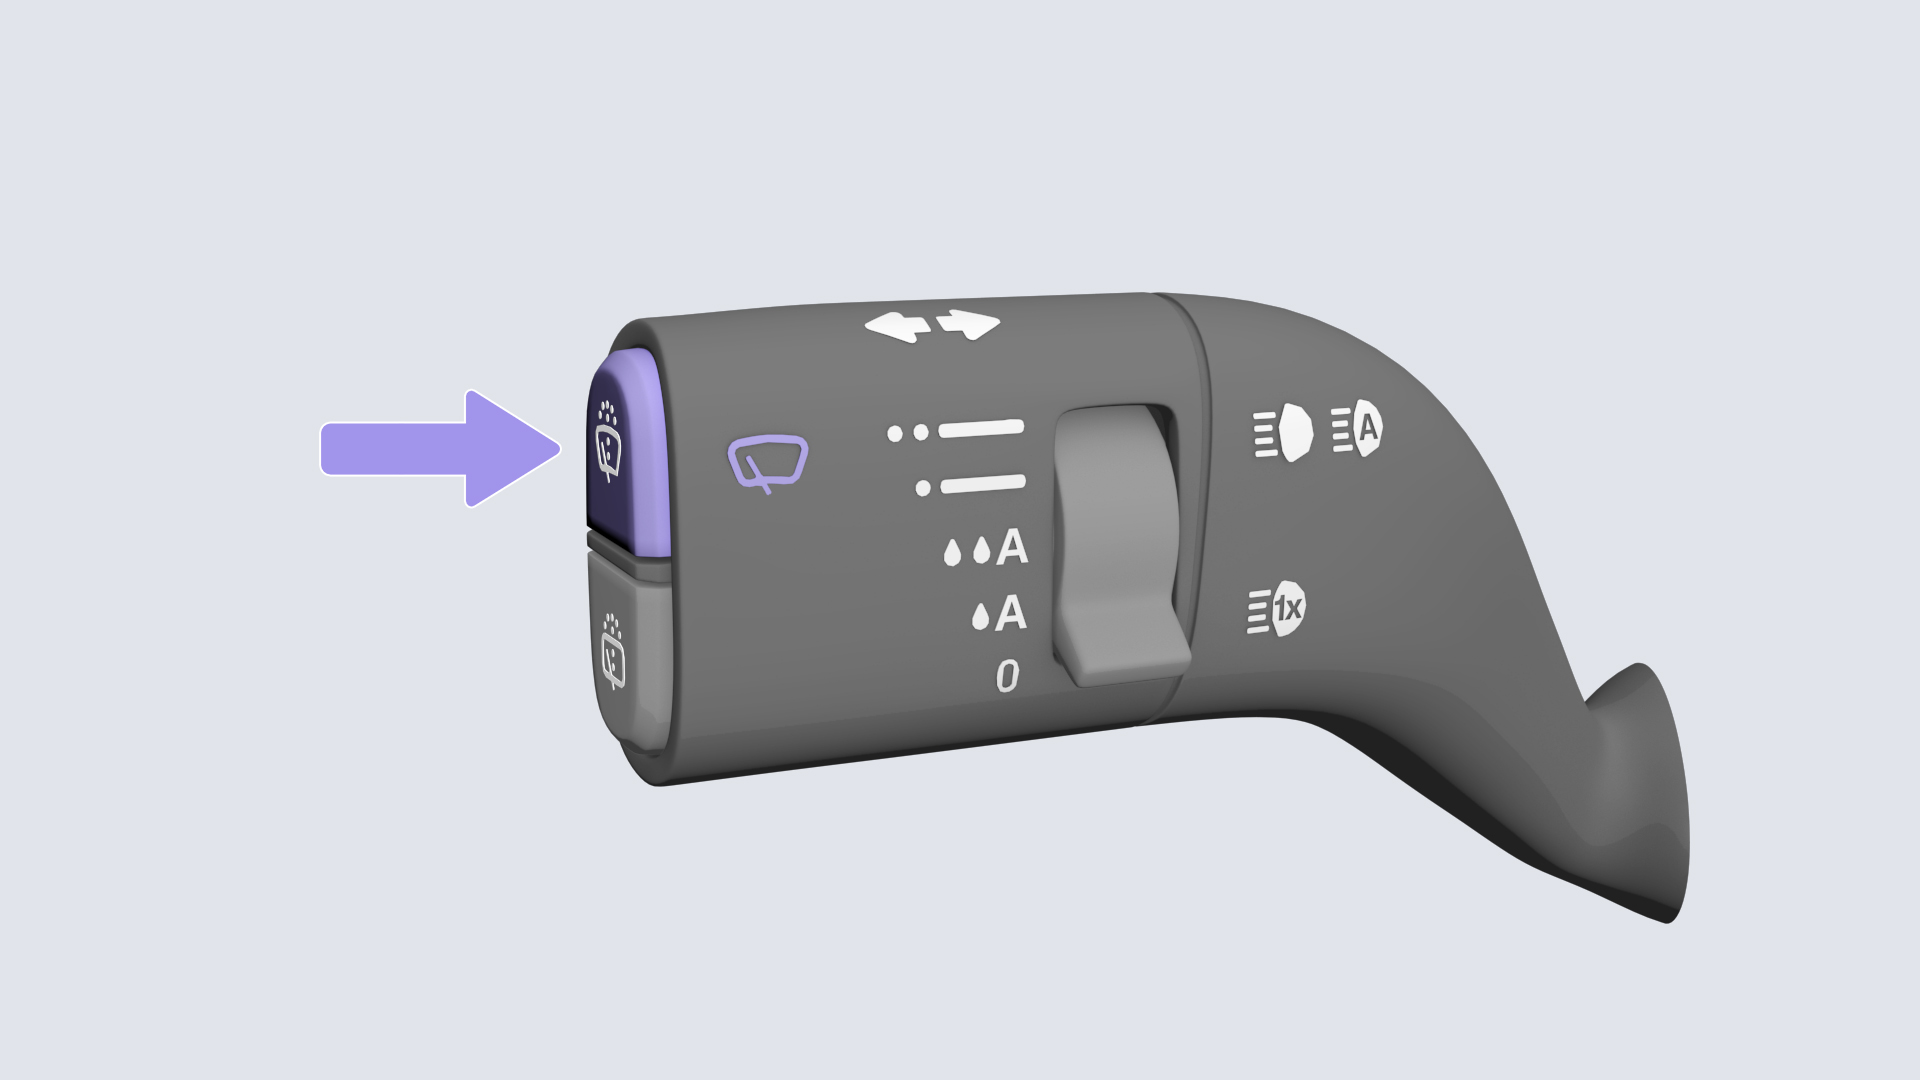
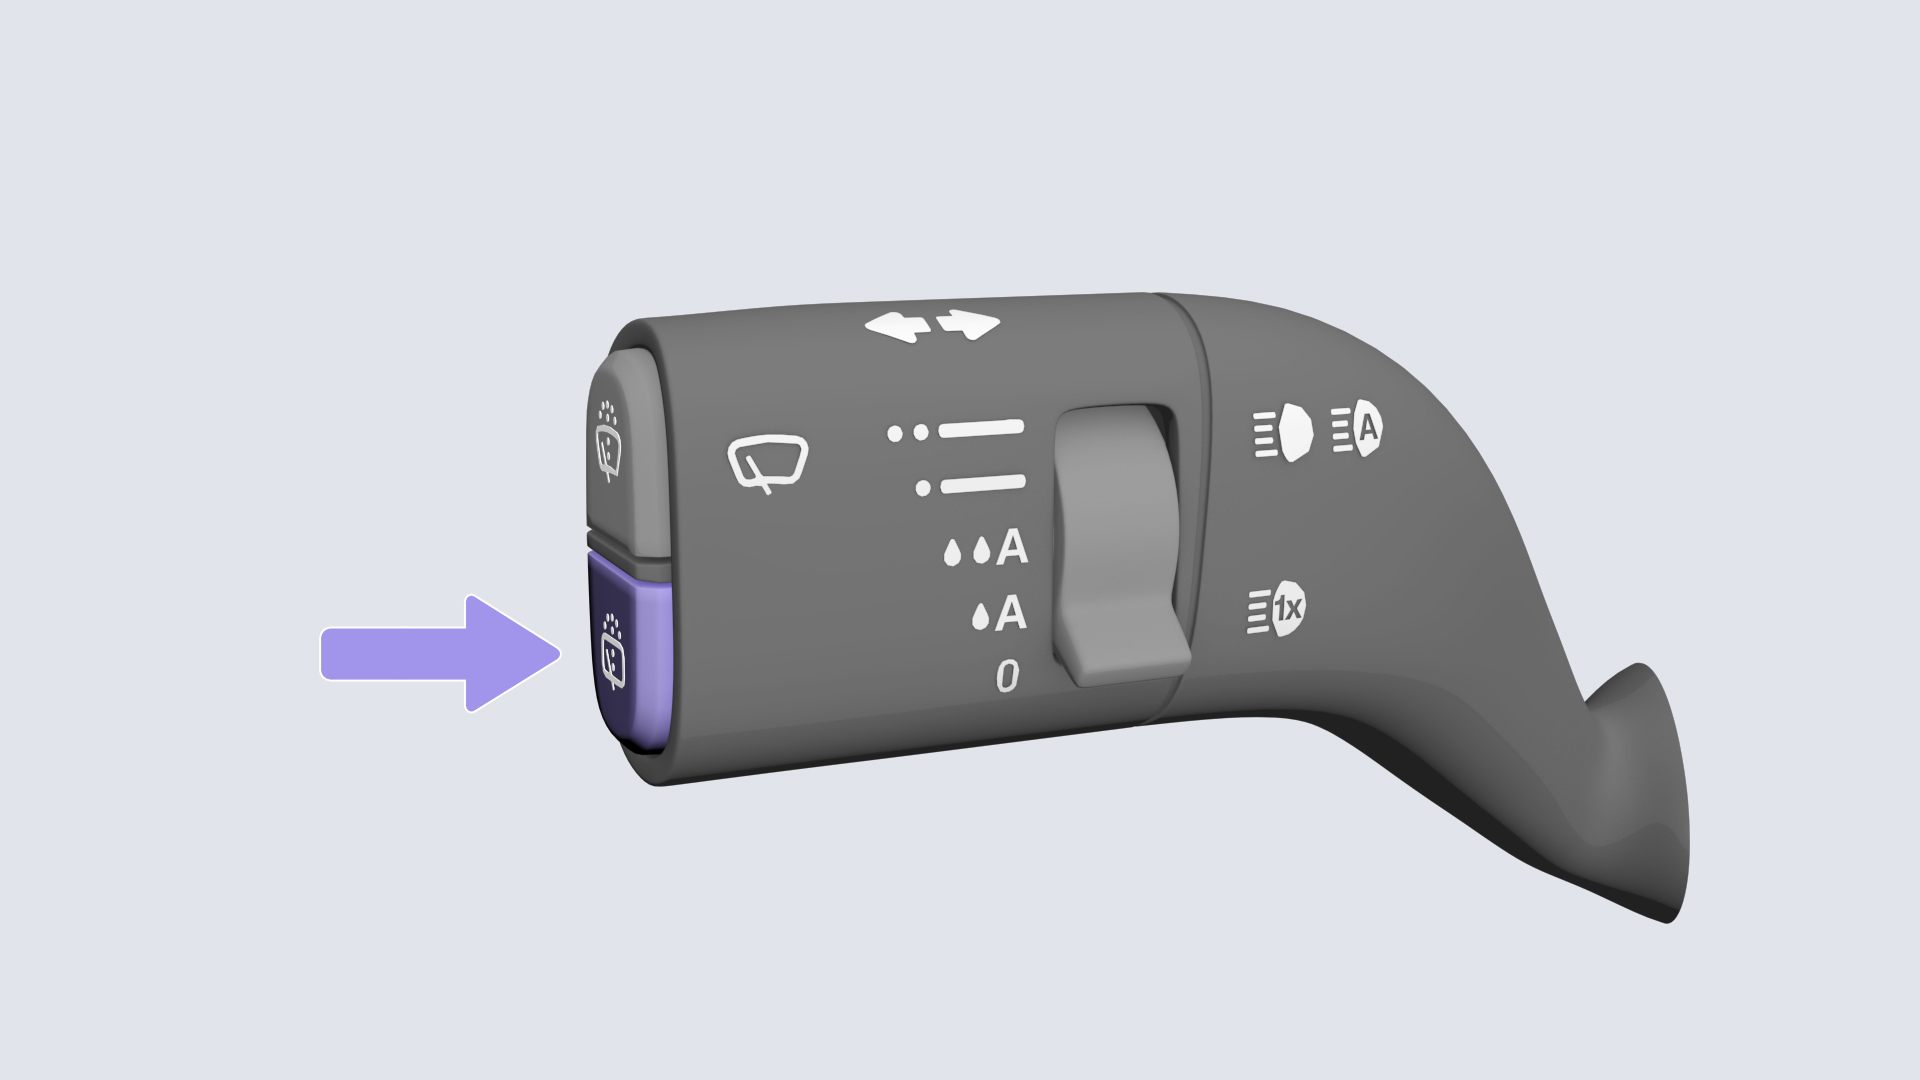
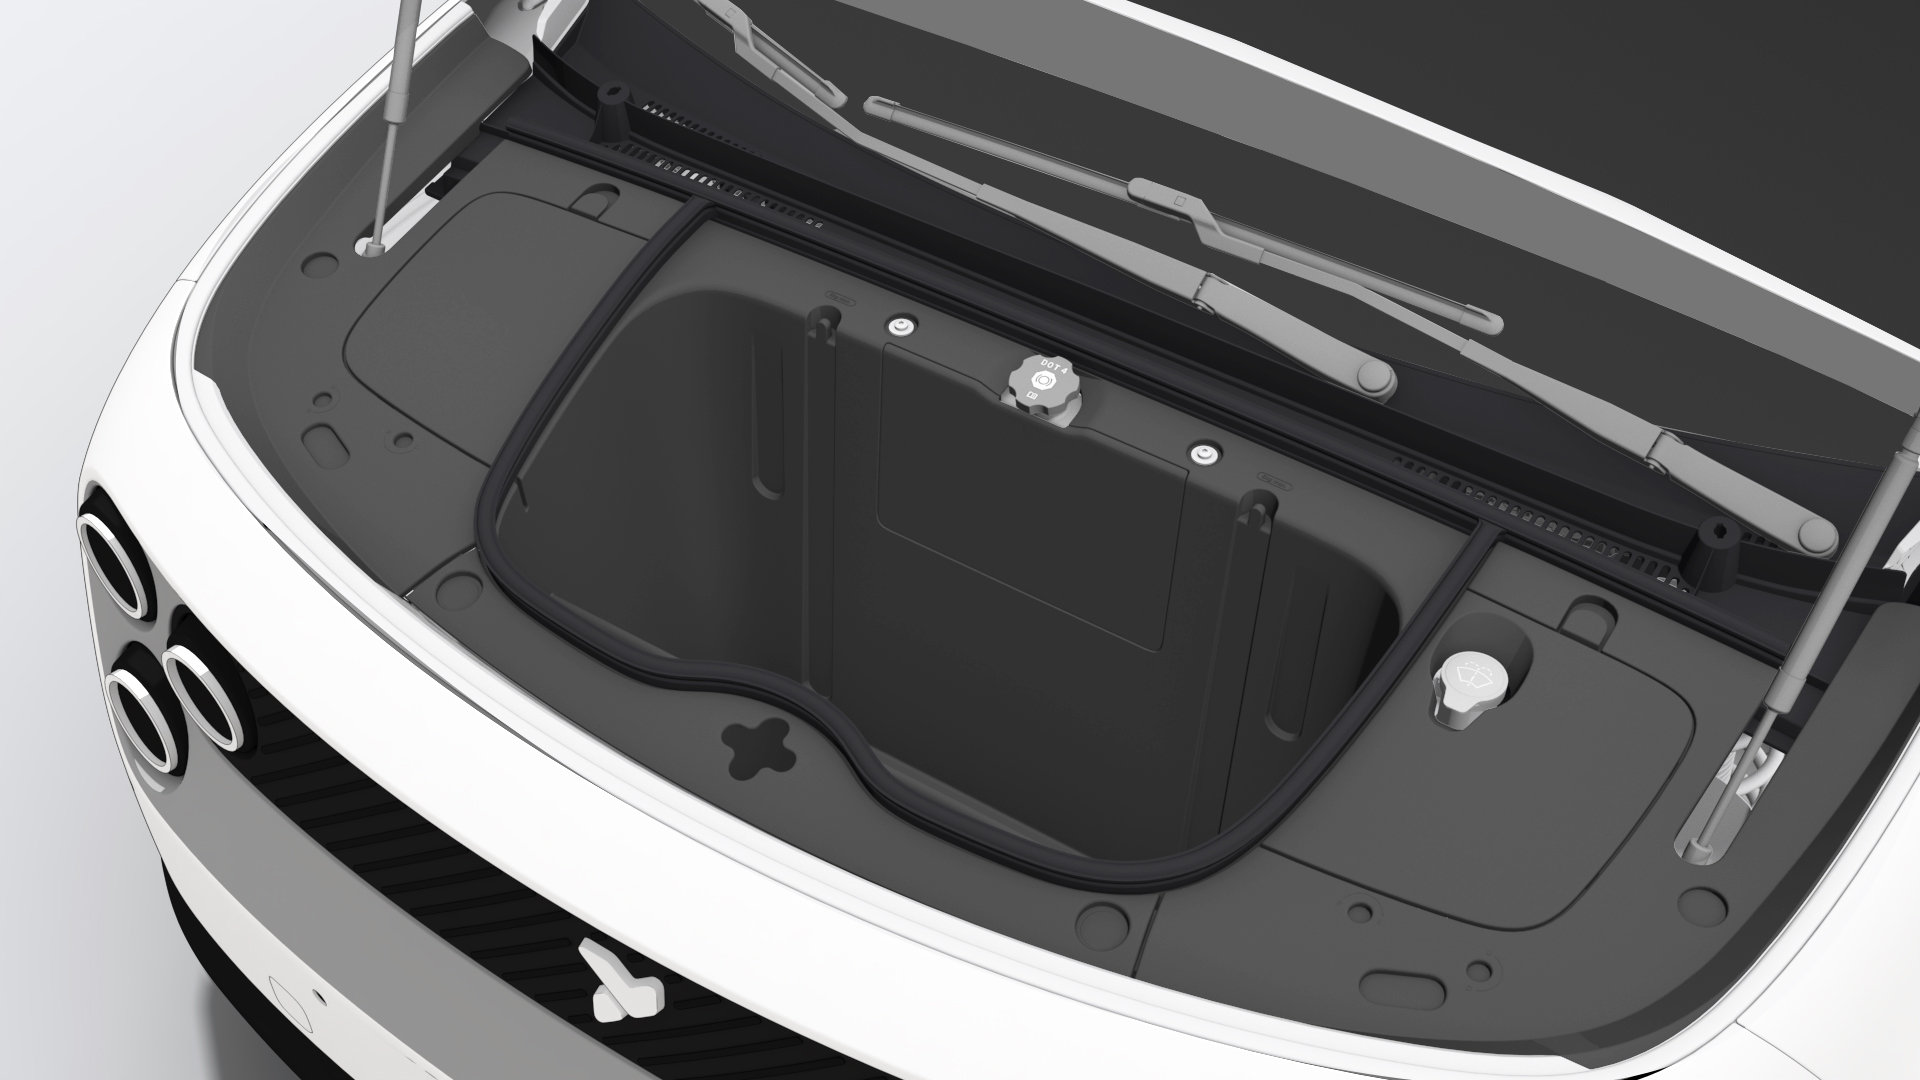
Wiper Blades
Wash in warm soapy water. Do not use cleaning agents derived from alcohol or petroleum products.
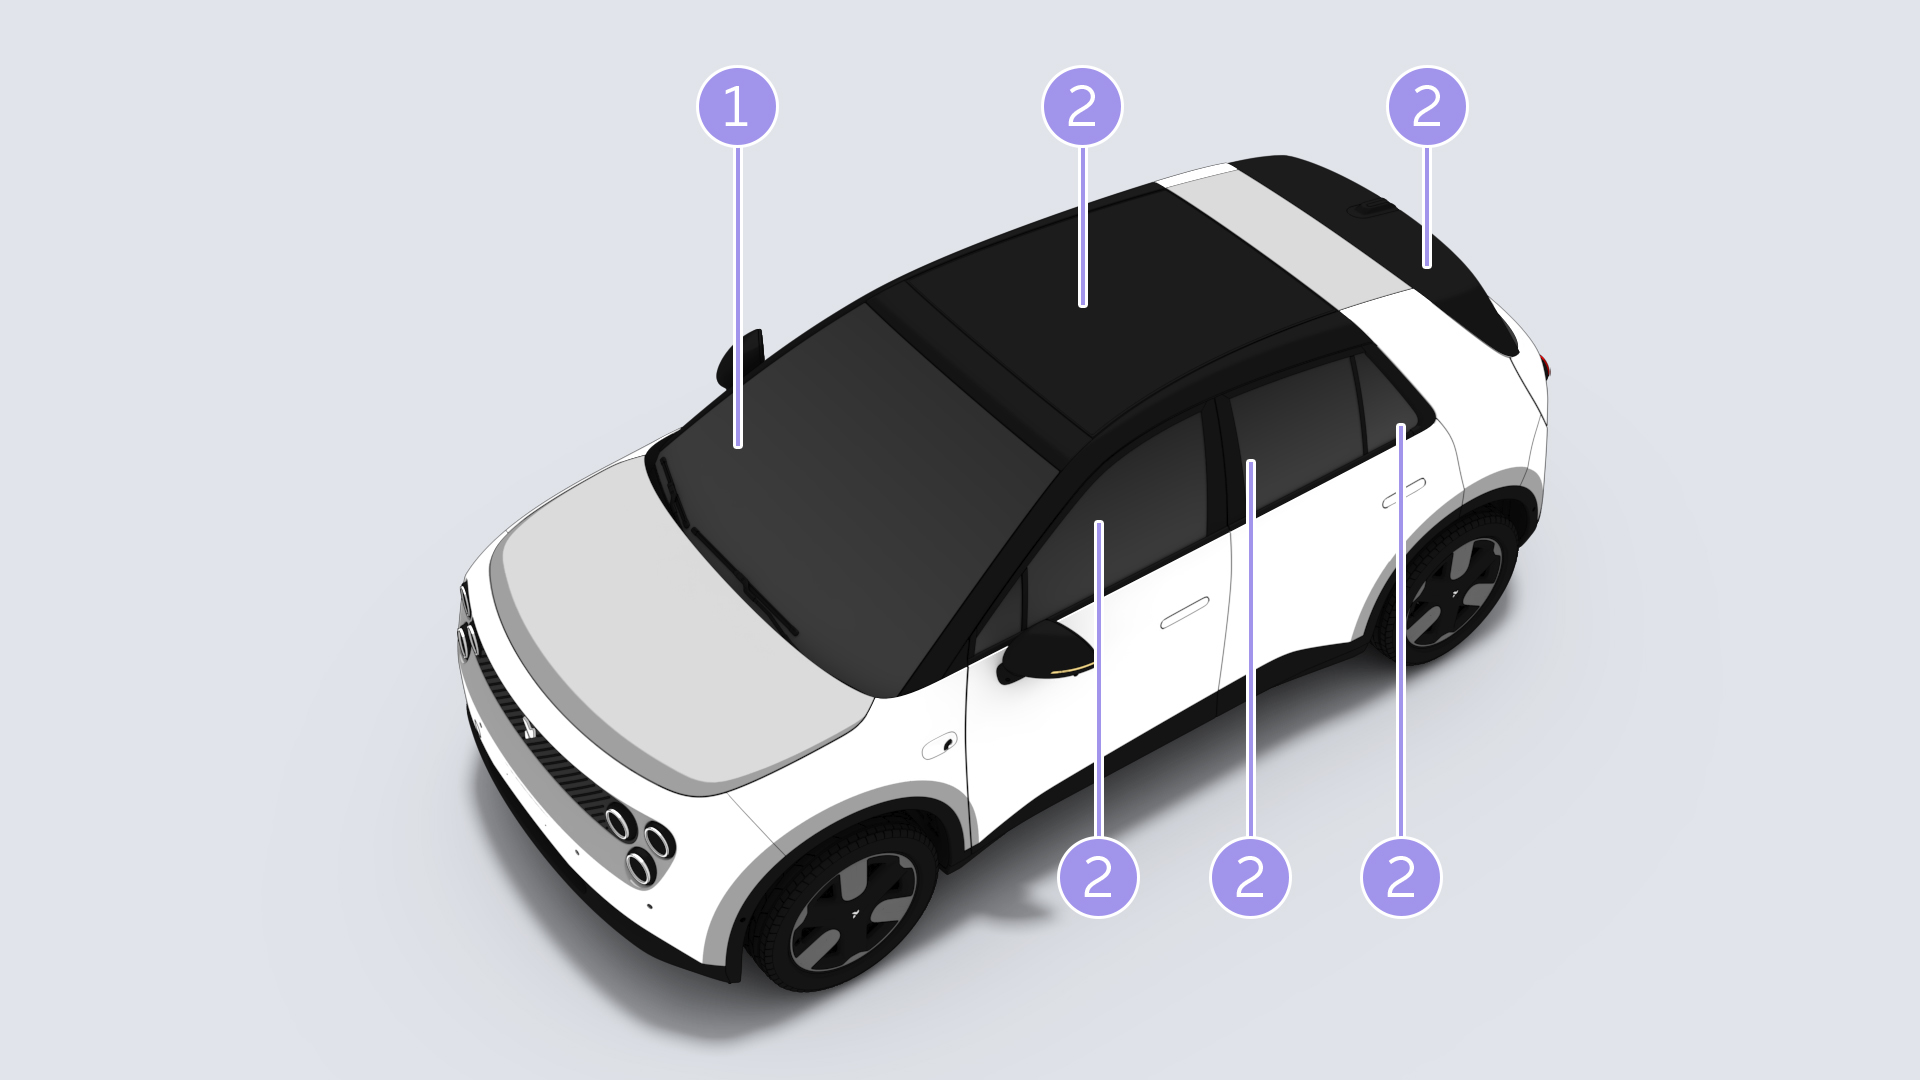
Windows and Side Mirrors
Clean the inner and outer surfaces of all the windows regularly with glass cleaning agents.
Clean the rear window interior with a soft cloth horizontally, never scrape the glass or use abrasive cleaners to prevent damage to heating elements.
Wash the side mirrors with soapy water. Do not use abrasive cleaners to avoid damaging the lens.
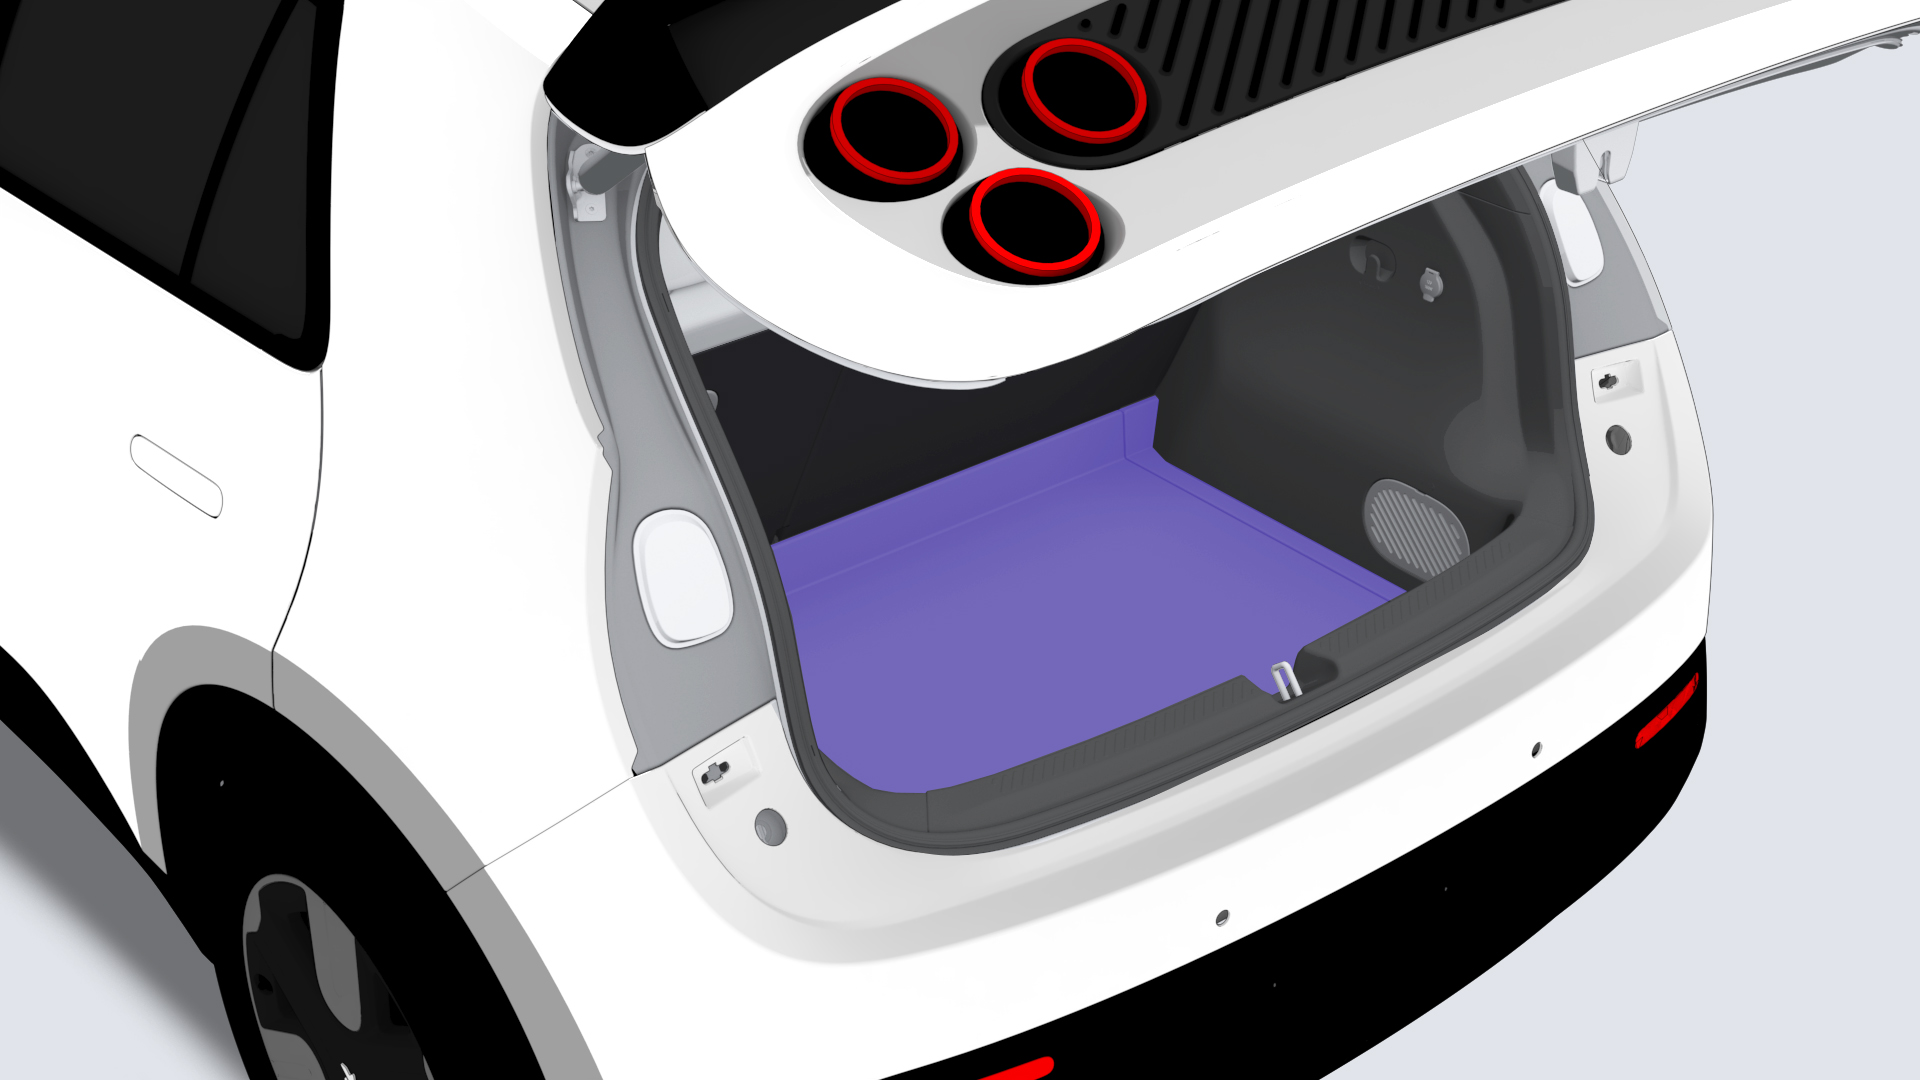
Plastic Parts
Plastic parts (such as the front bumper grille trim, liftgate trim, etc.) should be cleaned using conventional cleaning methods. If stains persist, only neutral detergents or plastic-specific cleaners can be used for cleaning, otherwise the plastic parts will be corroded.
Warning FY_塑料件清洗Do not use cleaners containing ketones, aromatic hydrocarbons or other high-risk solvents (e.g. tar removers, carburetor cleaners, or engine degreasers) on plastic components.
Chromium-plated Parts
Chromium-plated parts can be cleaned with a damp cloth and then polished with a soft dry cloth. If the result is not good enough, use chrome polish uniformly across the entire surface for complete coverage. Do not clean and polish chrome-plated surfaces in dusty and sandy environments.
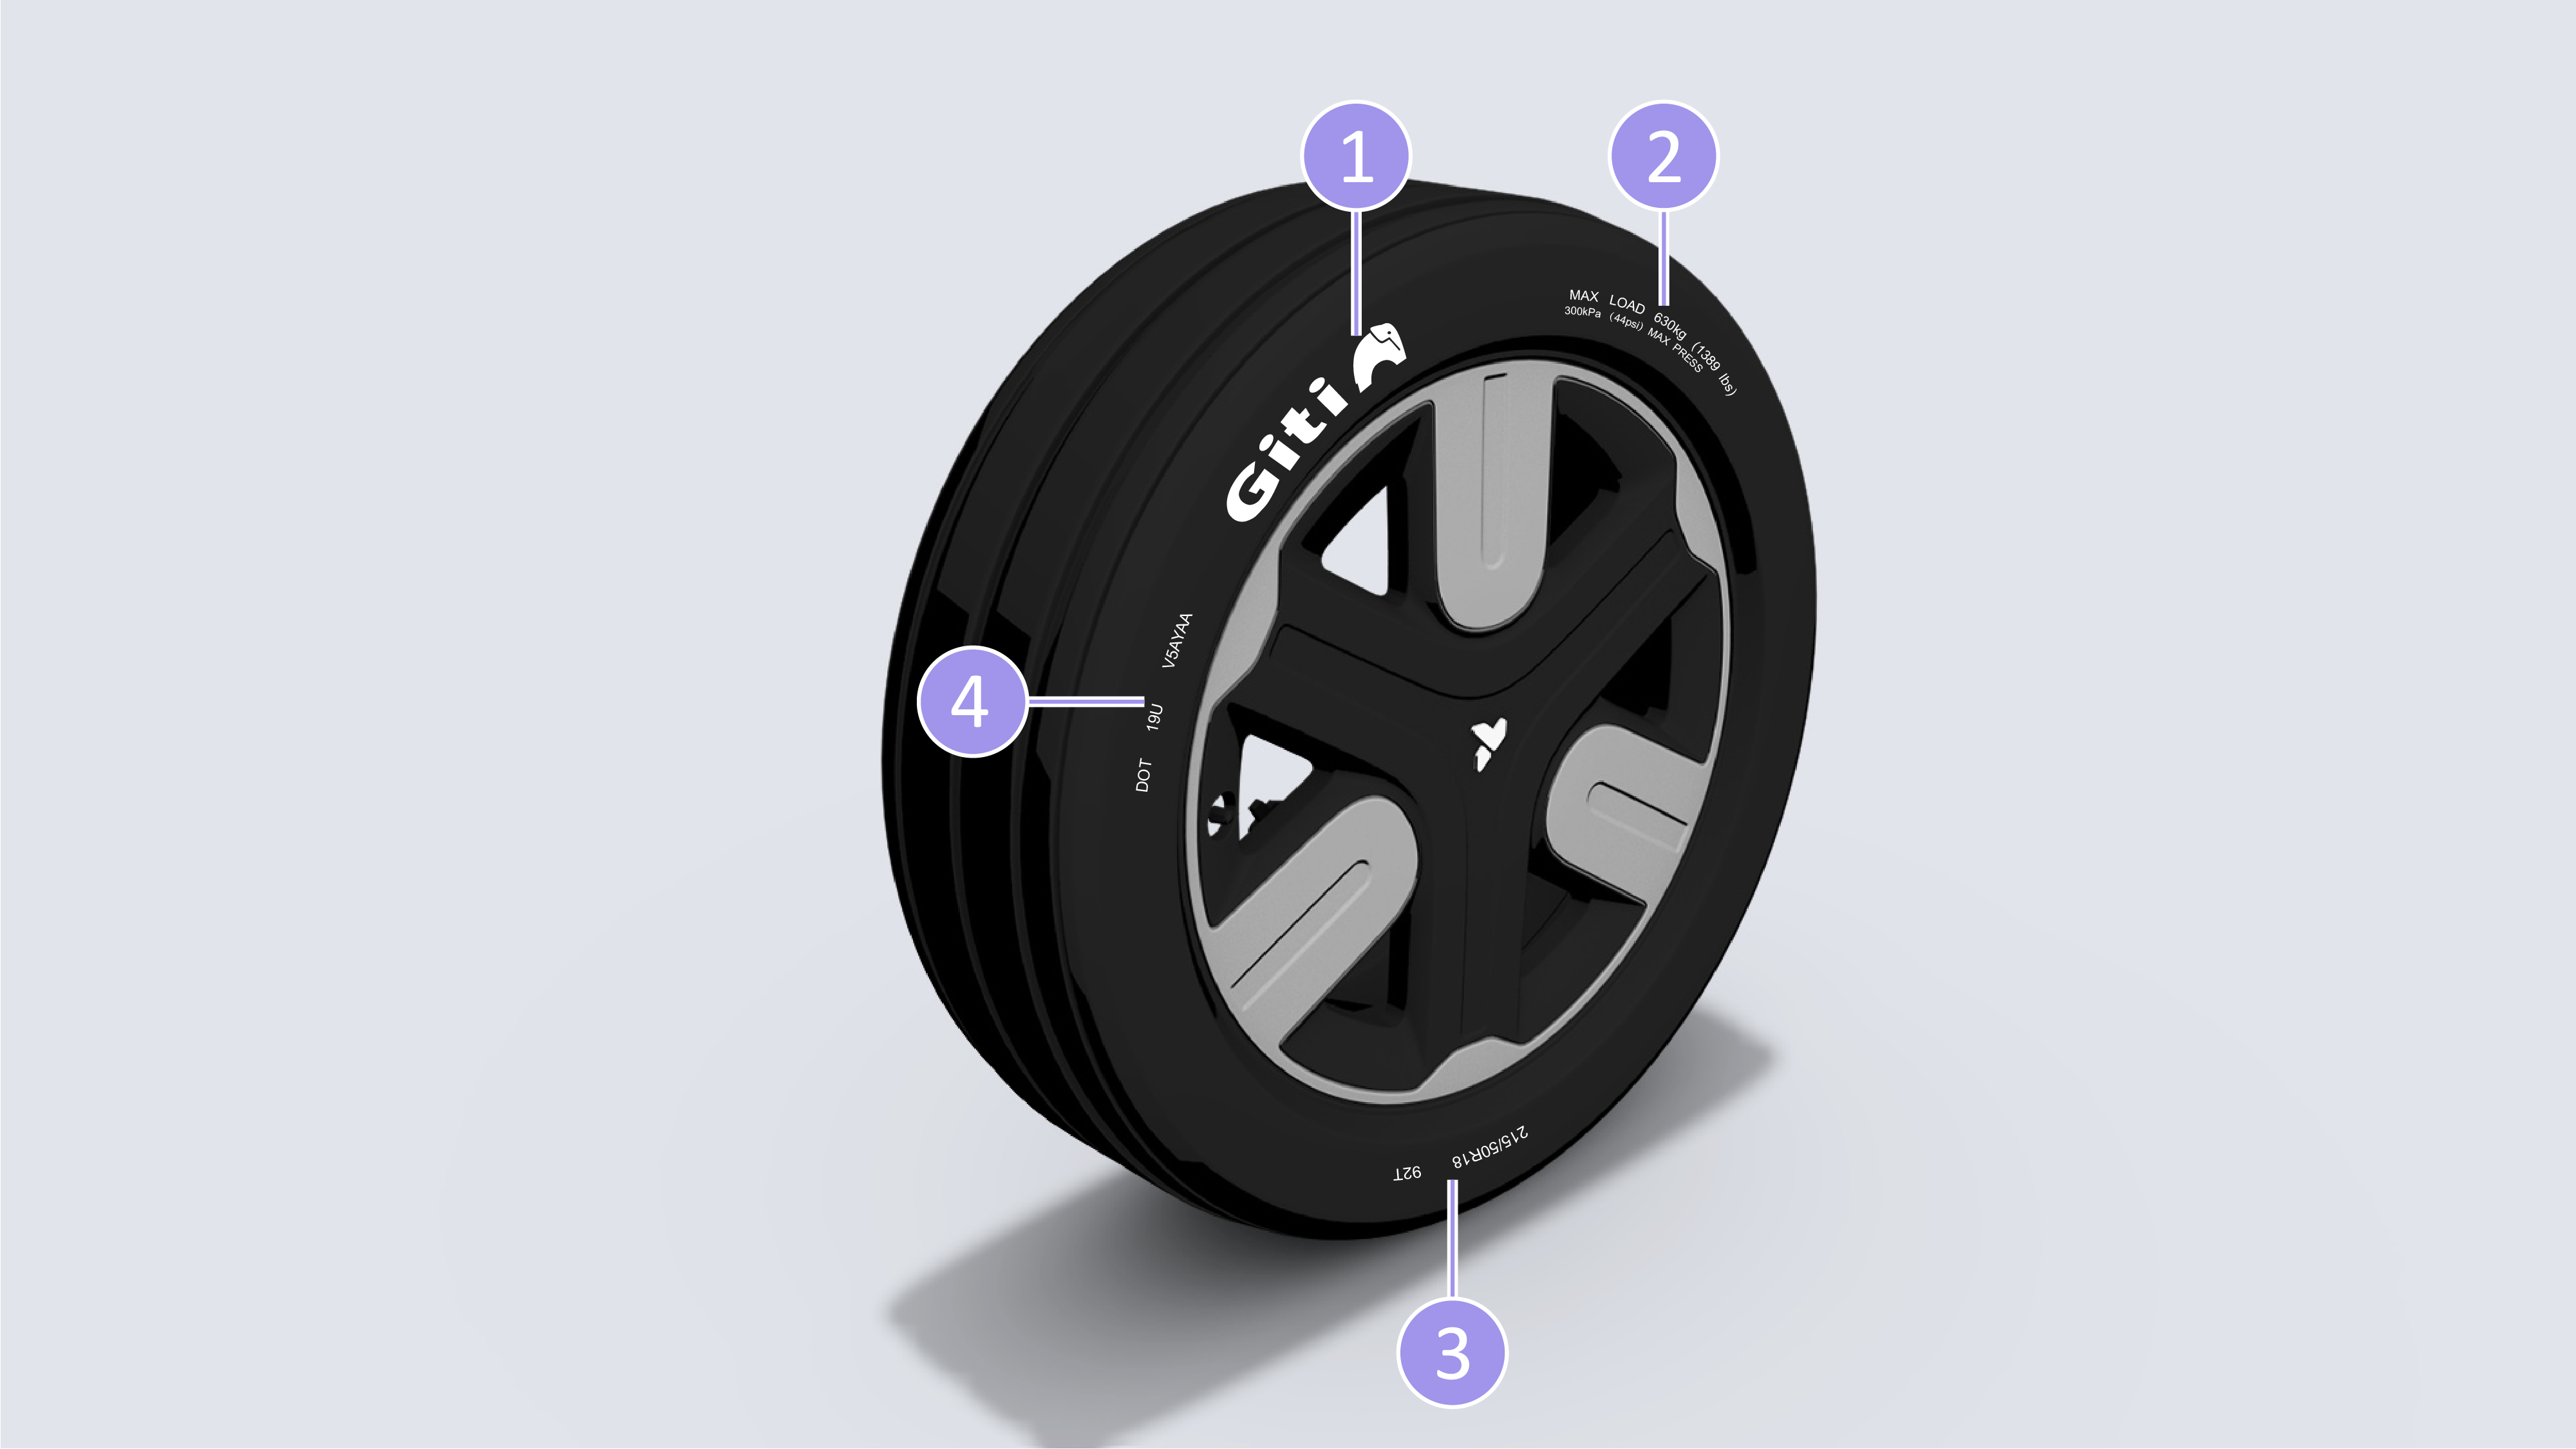
Wheels
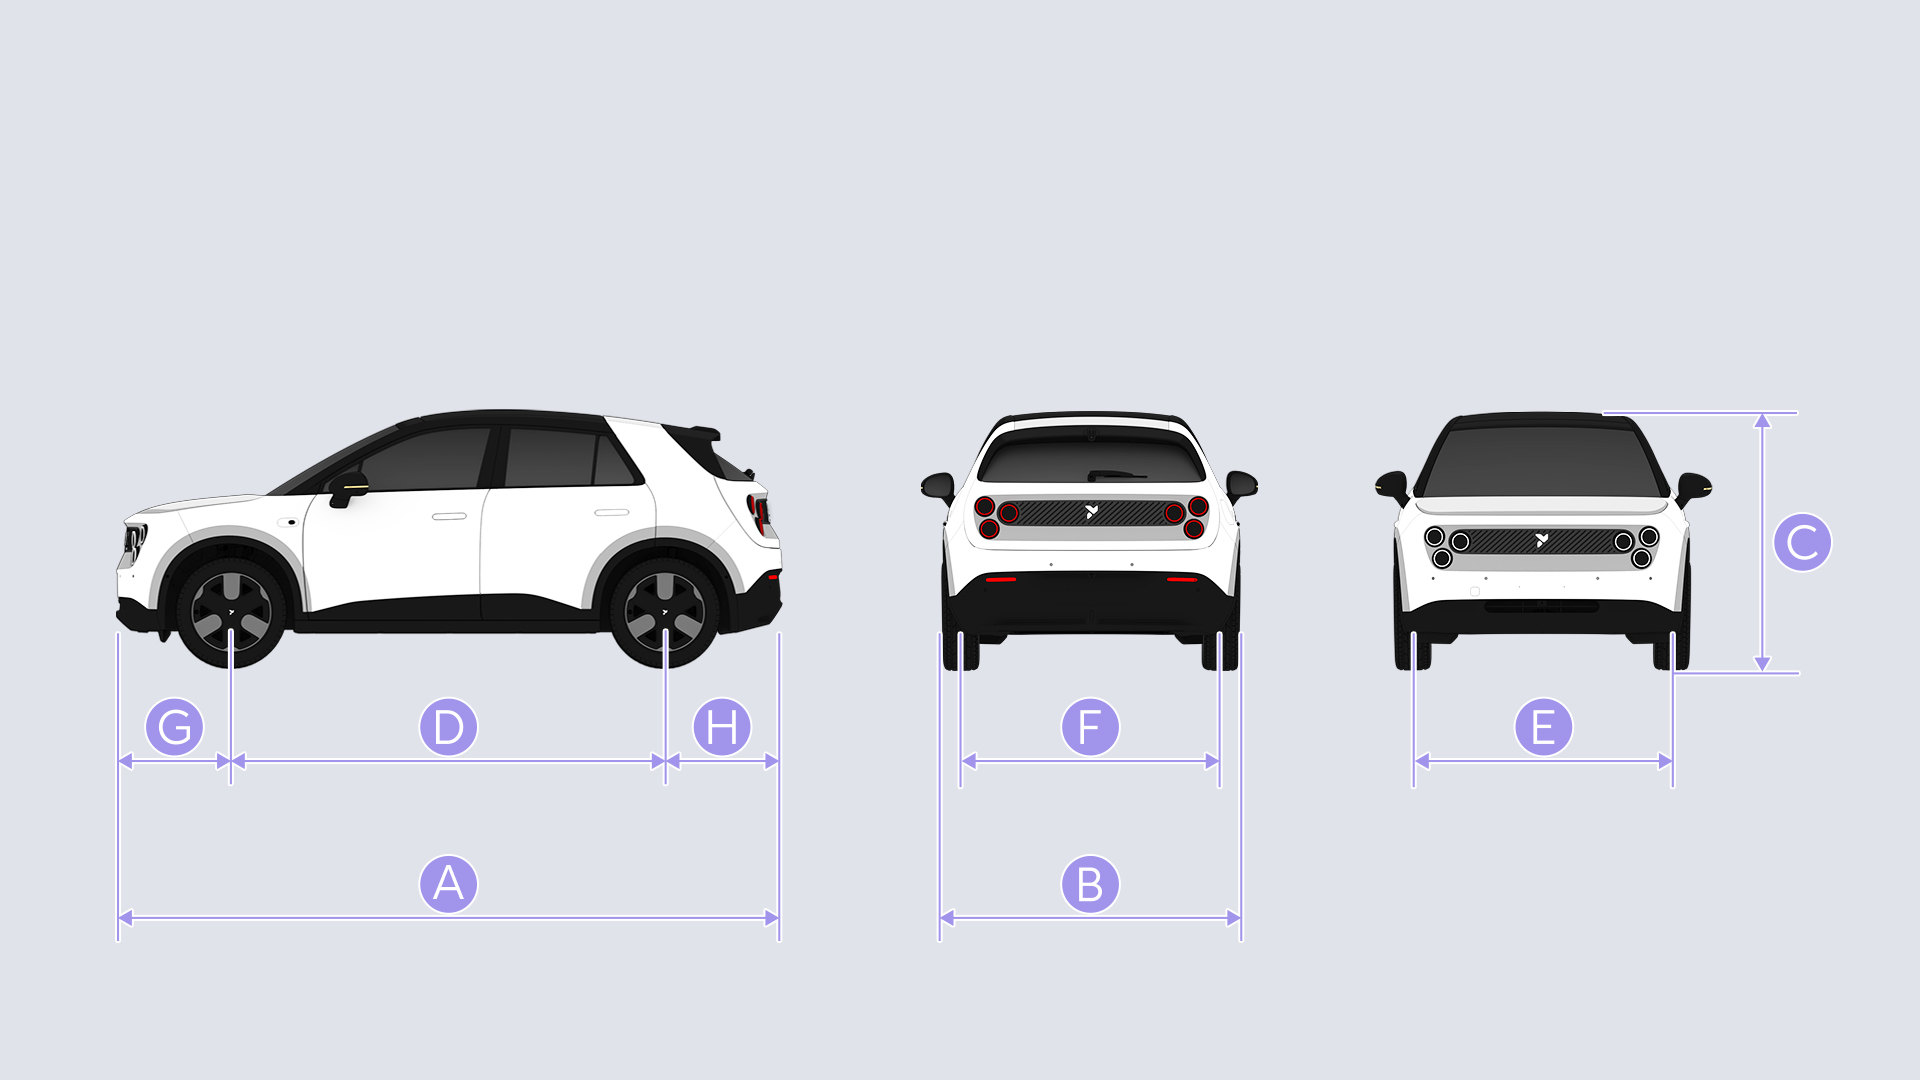
Regular maintenance is essential to preserve the aesthetic appeal of aluminum alloy wheels over time. Thoroughly clean every two weeks to prevent corrosion from brake dust, road dirt, or salt deposits adhering to the aluminum alloy. After washing, treat the wheels with pH-neutral cleaner specifically formulated for aluminum alloy wheels. Apply hard wax to the wheels every three months. If the protective coating is damaged (e.g., by stone impacts), immediate repair is mandatory, never use automotive polish or similar finishing compounds.
Heavy dirt layers on the wheels can also lead to a wheel imbalance. This shows as wheel vibrations transmitted to the steering wheel, potentially causing premature wear in steering components in some cases. Therefore, wheels covered in dirt shall be cleaned regularly.
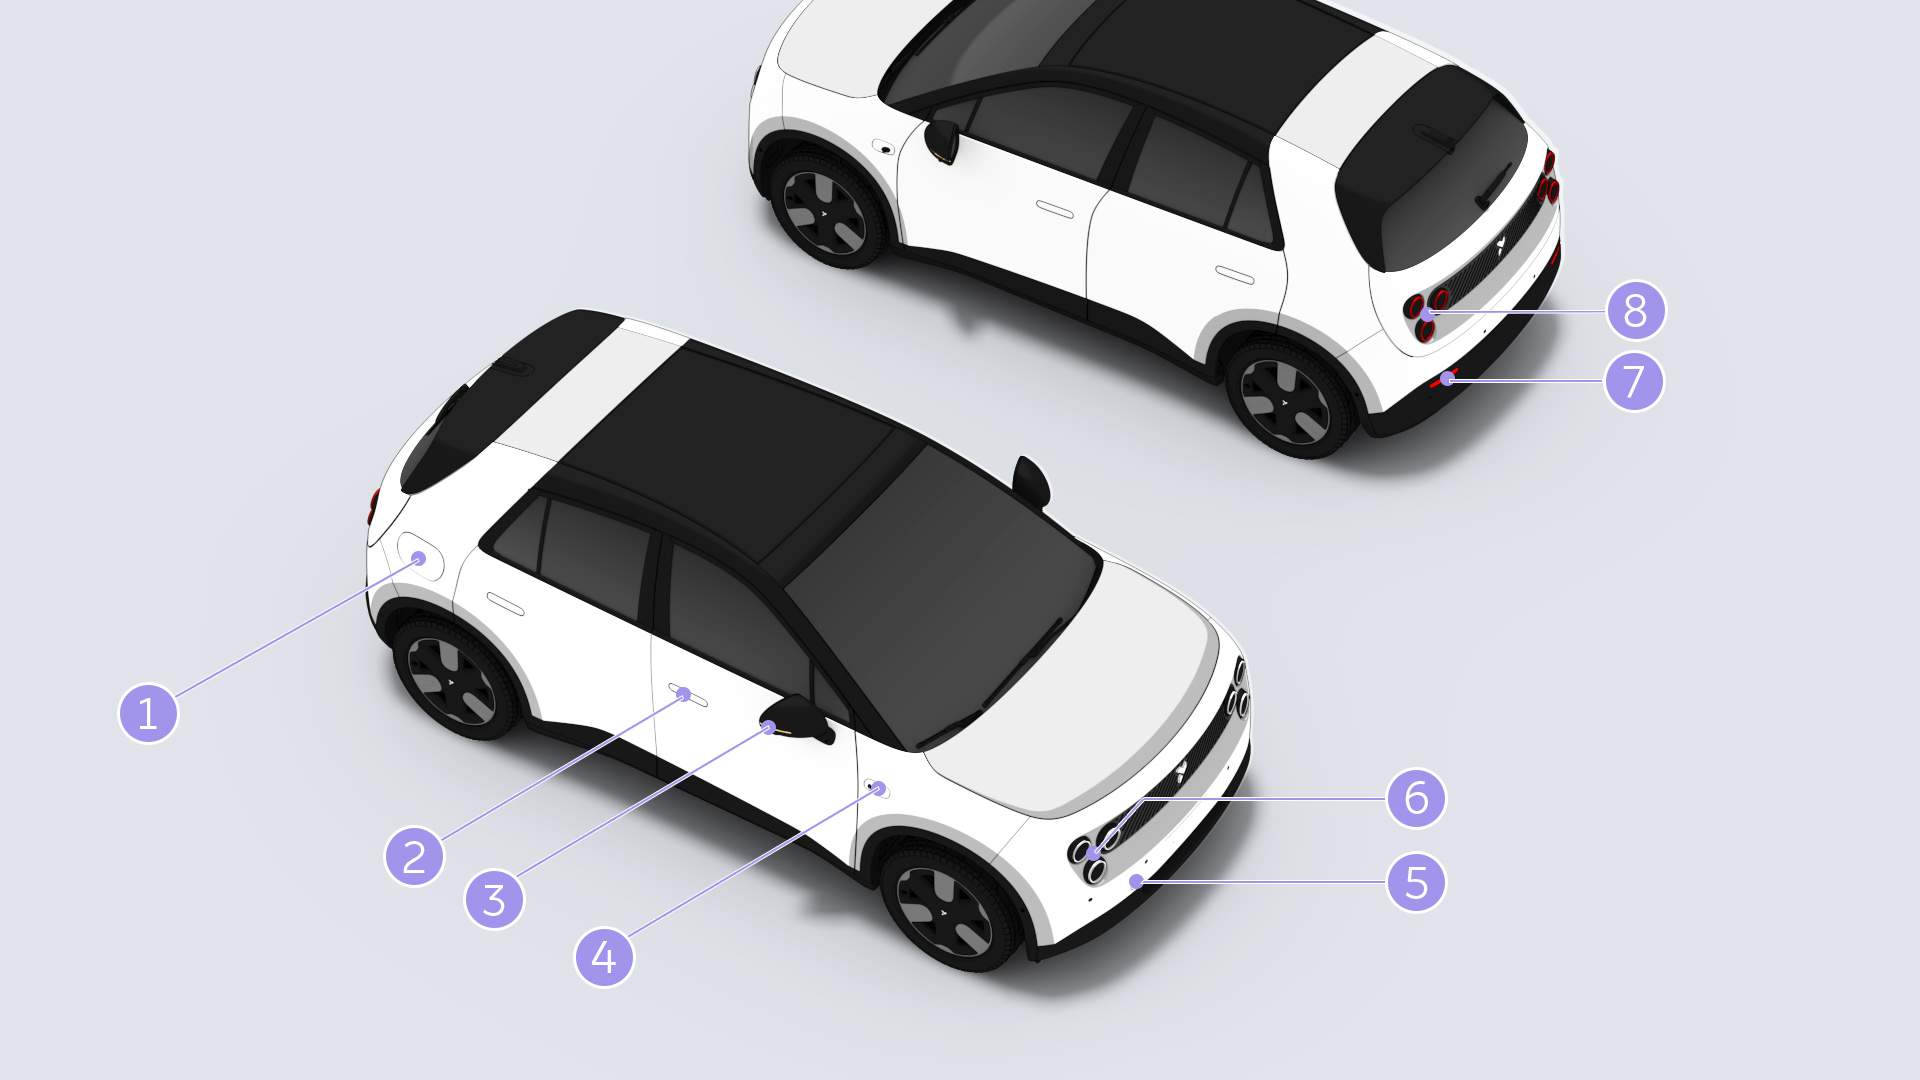
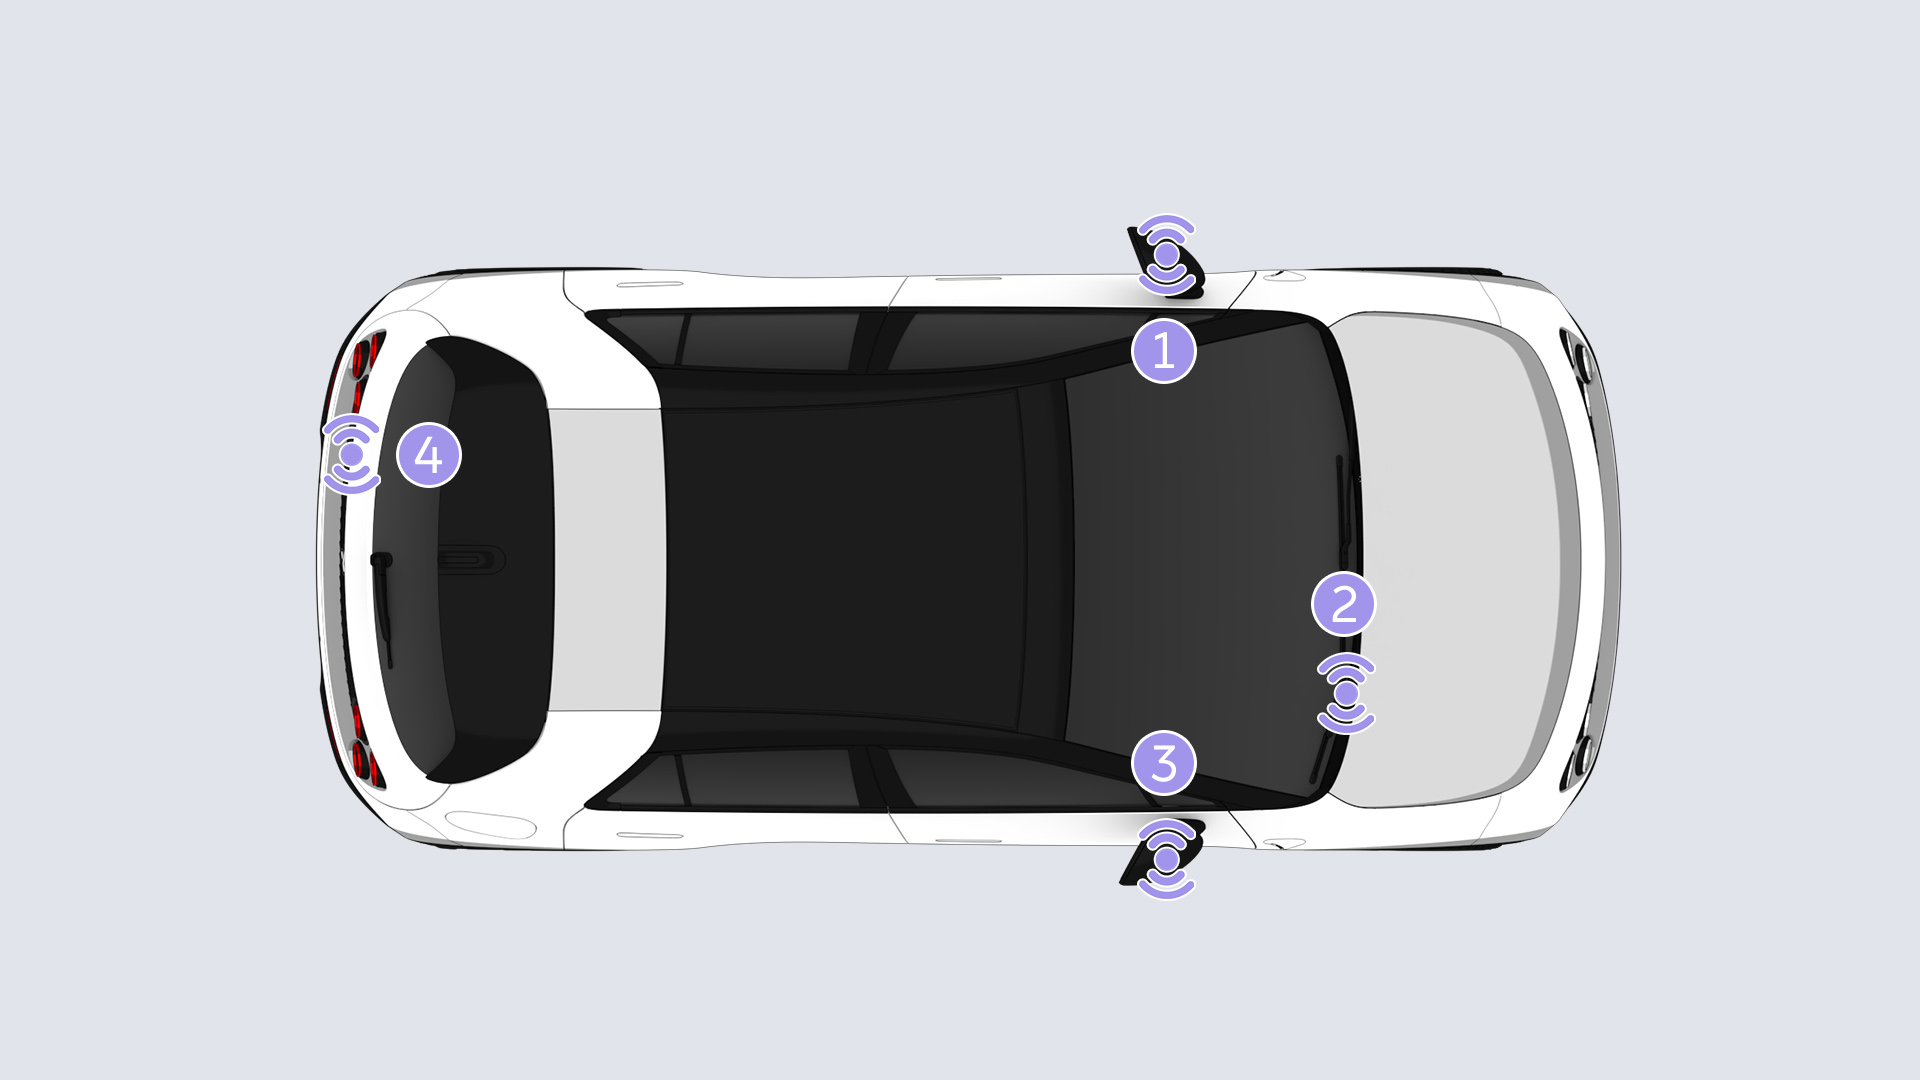
Radar Exteriors
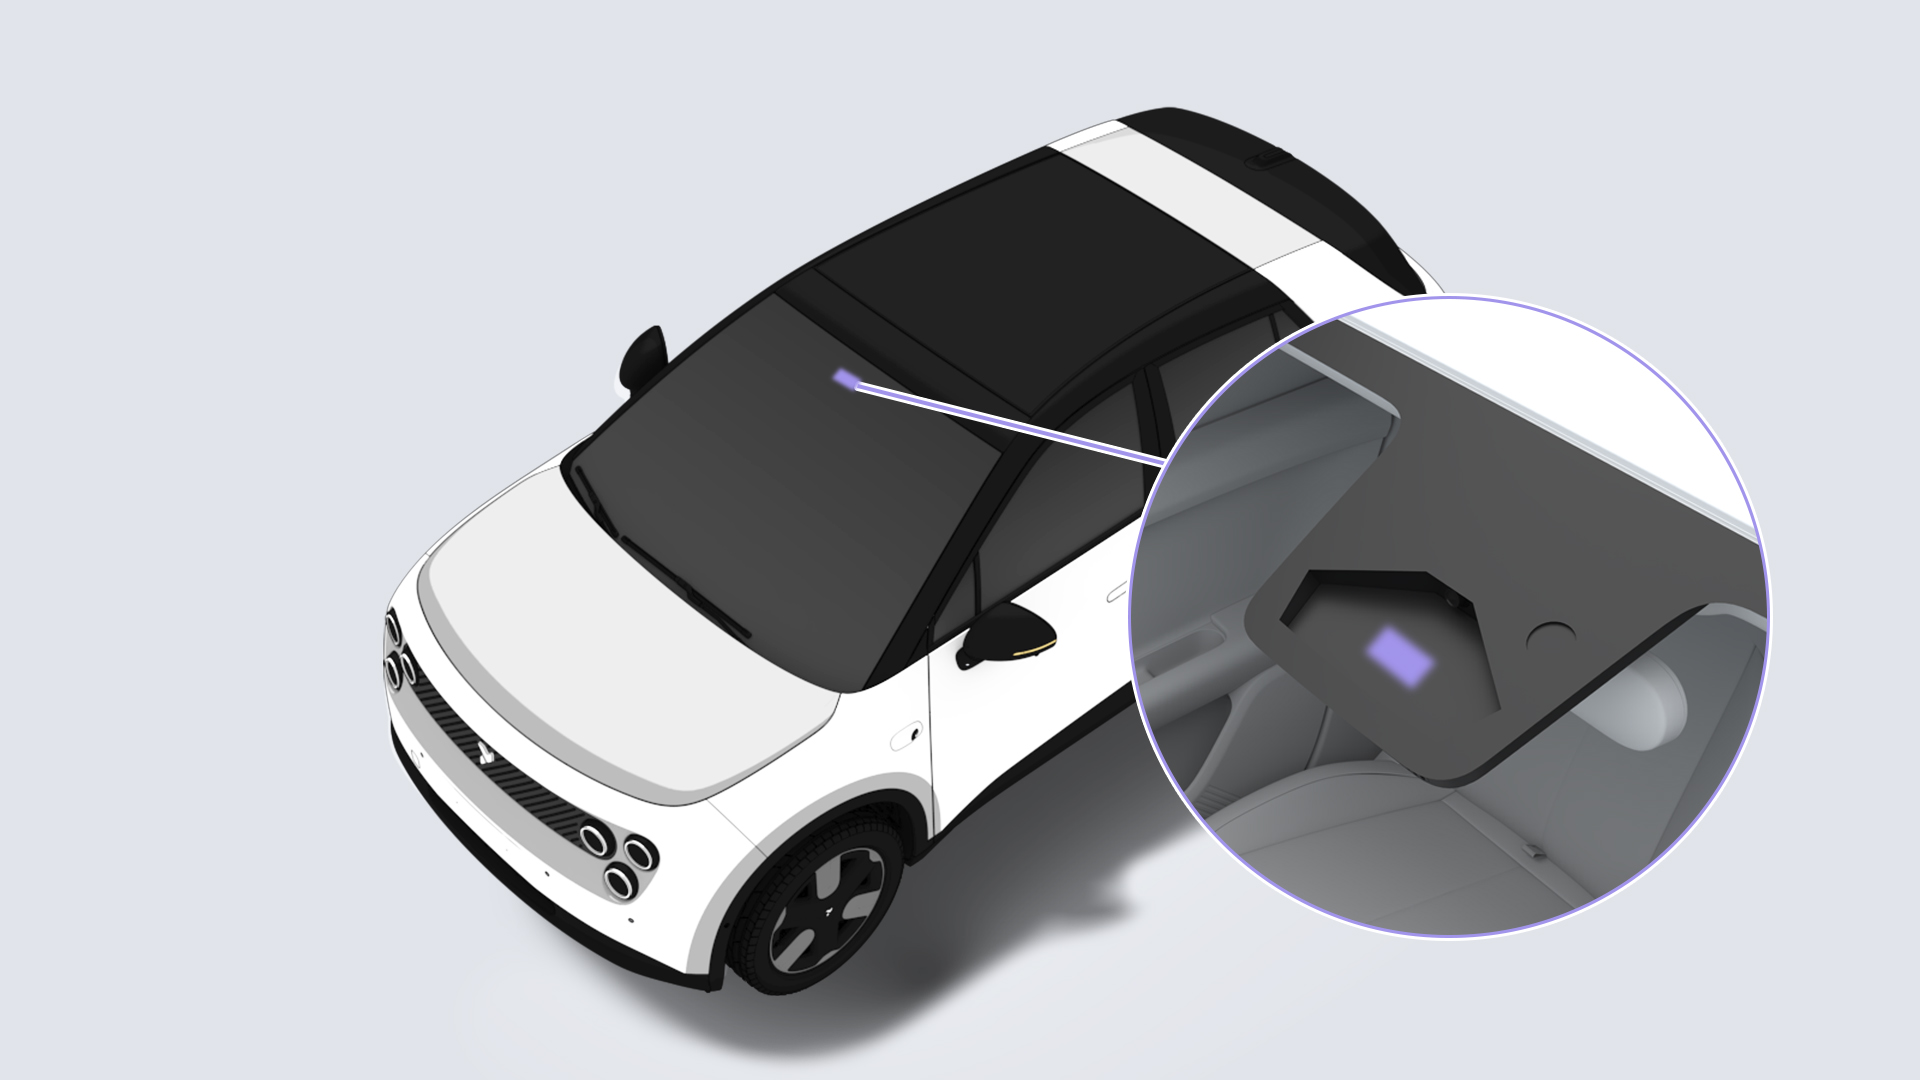
Manually clean radar exteriors using a microfiber cloth moistened with water or pH-neutral cleaner.
In snowy or icy conditions, remove all snow and ice from radar surfaces before wiping with a microfiber cloth or air-drying.
When using a high pressure washing machine, never spray directly at radar exteriors to prevent damage.
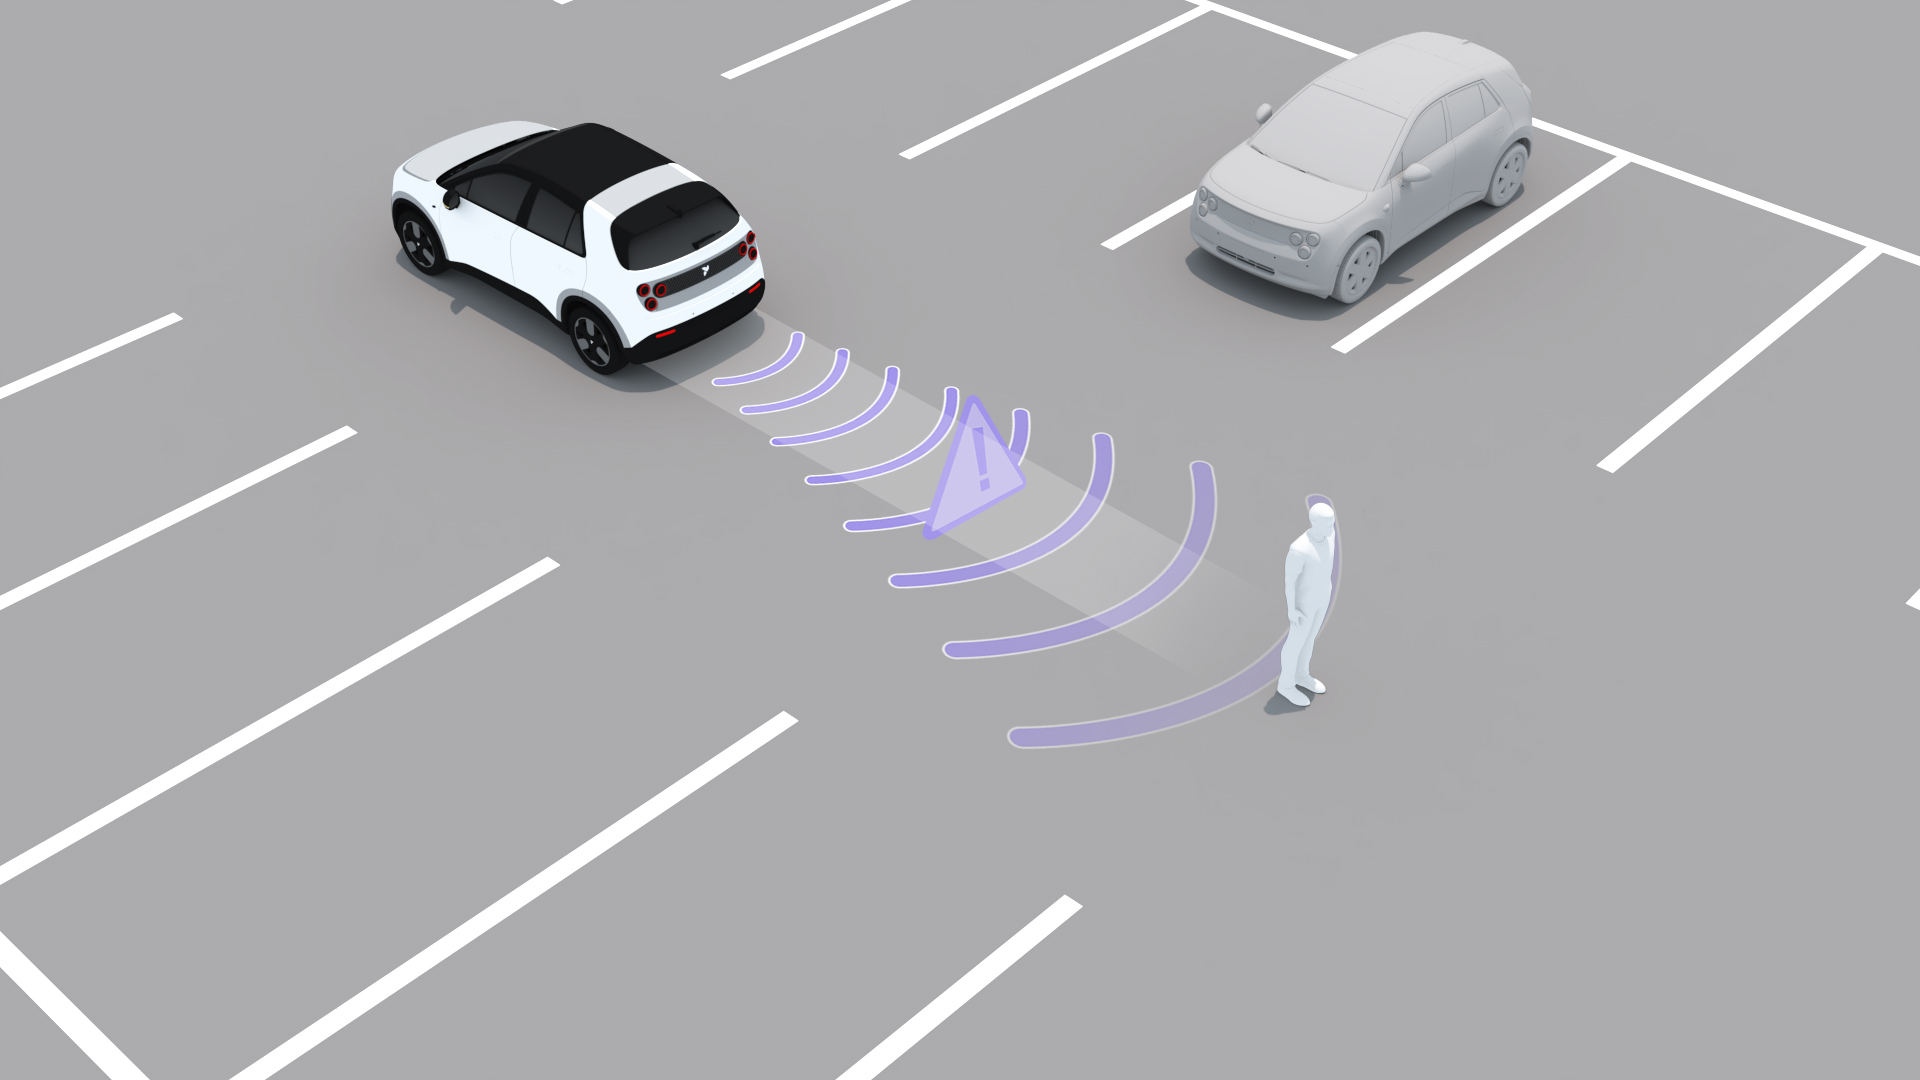
Please be careful during maintenance to avoid contaminating or damaging sensors on the front/rear bumpers.
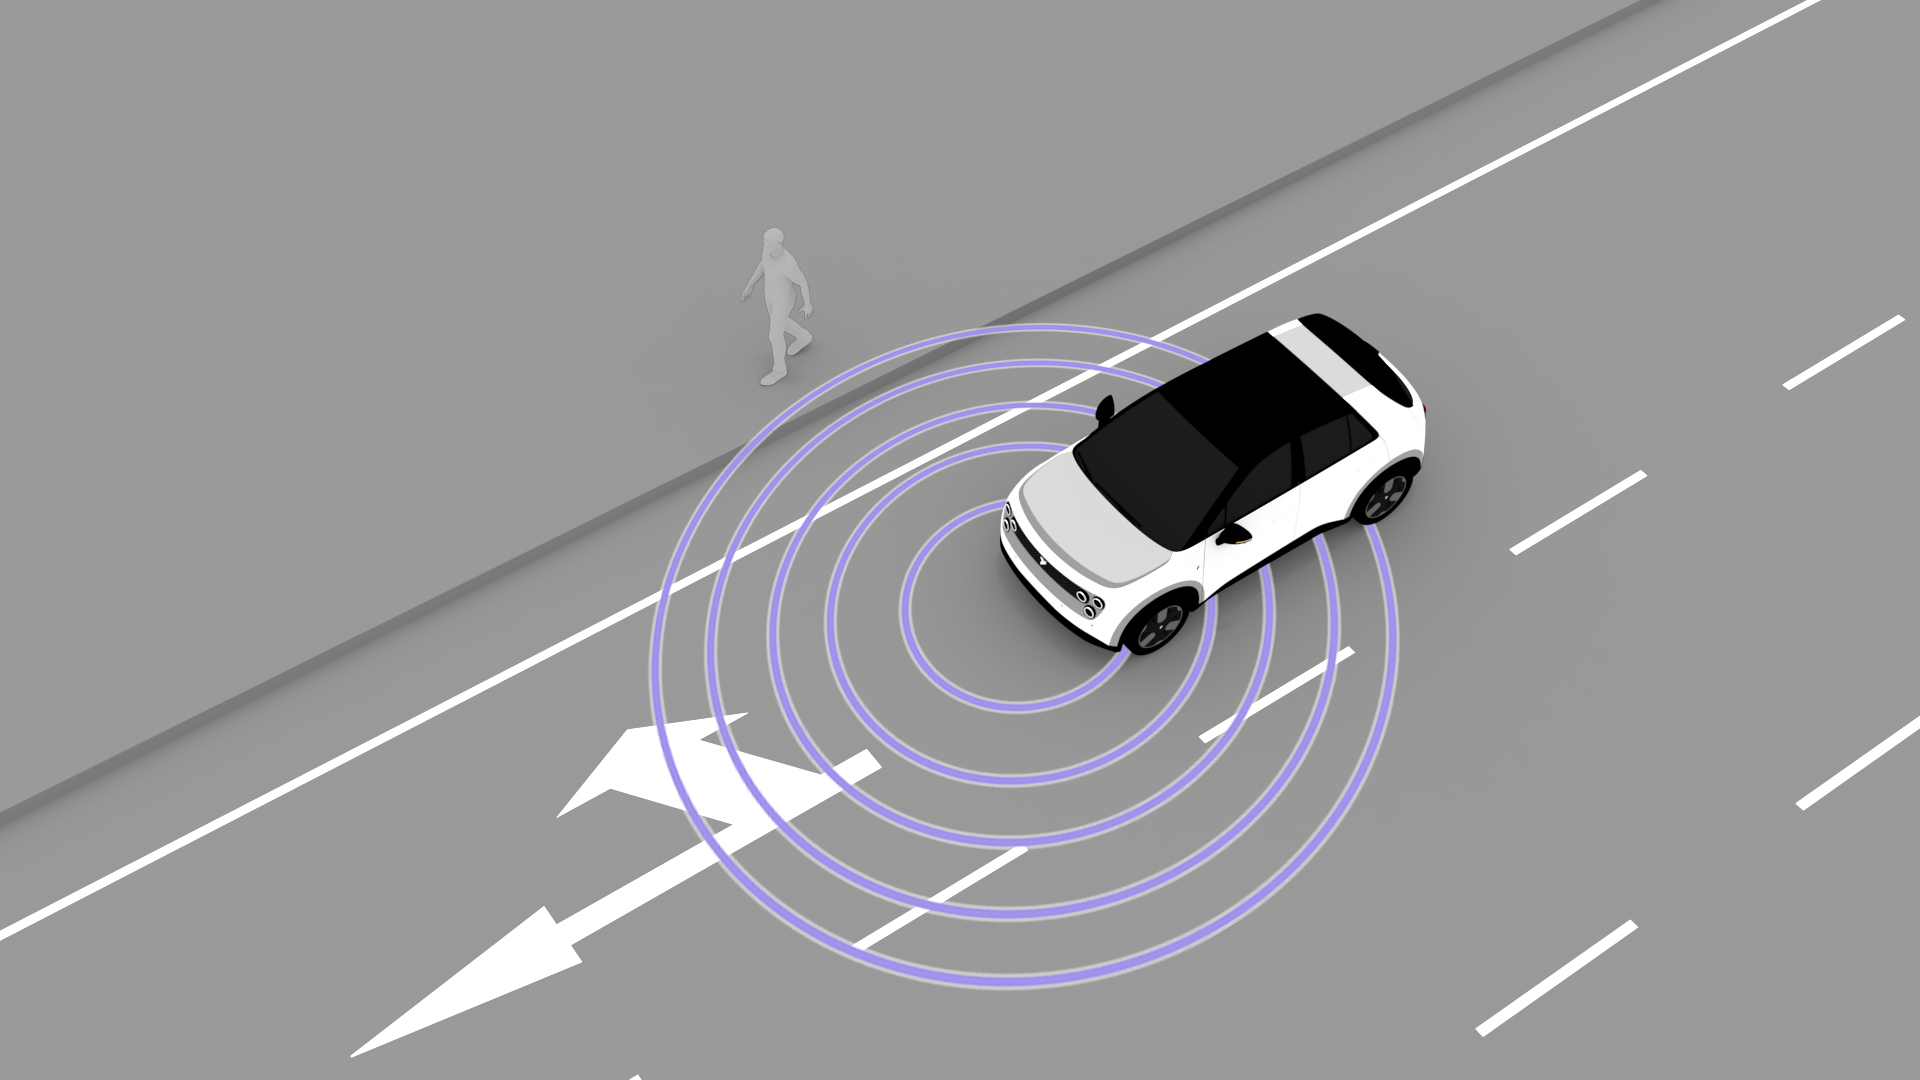
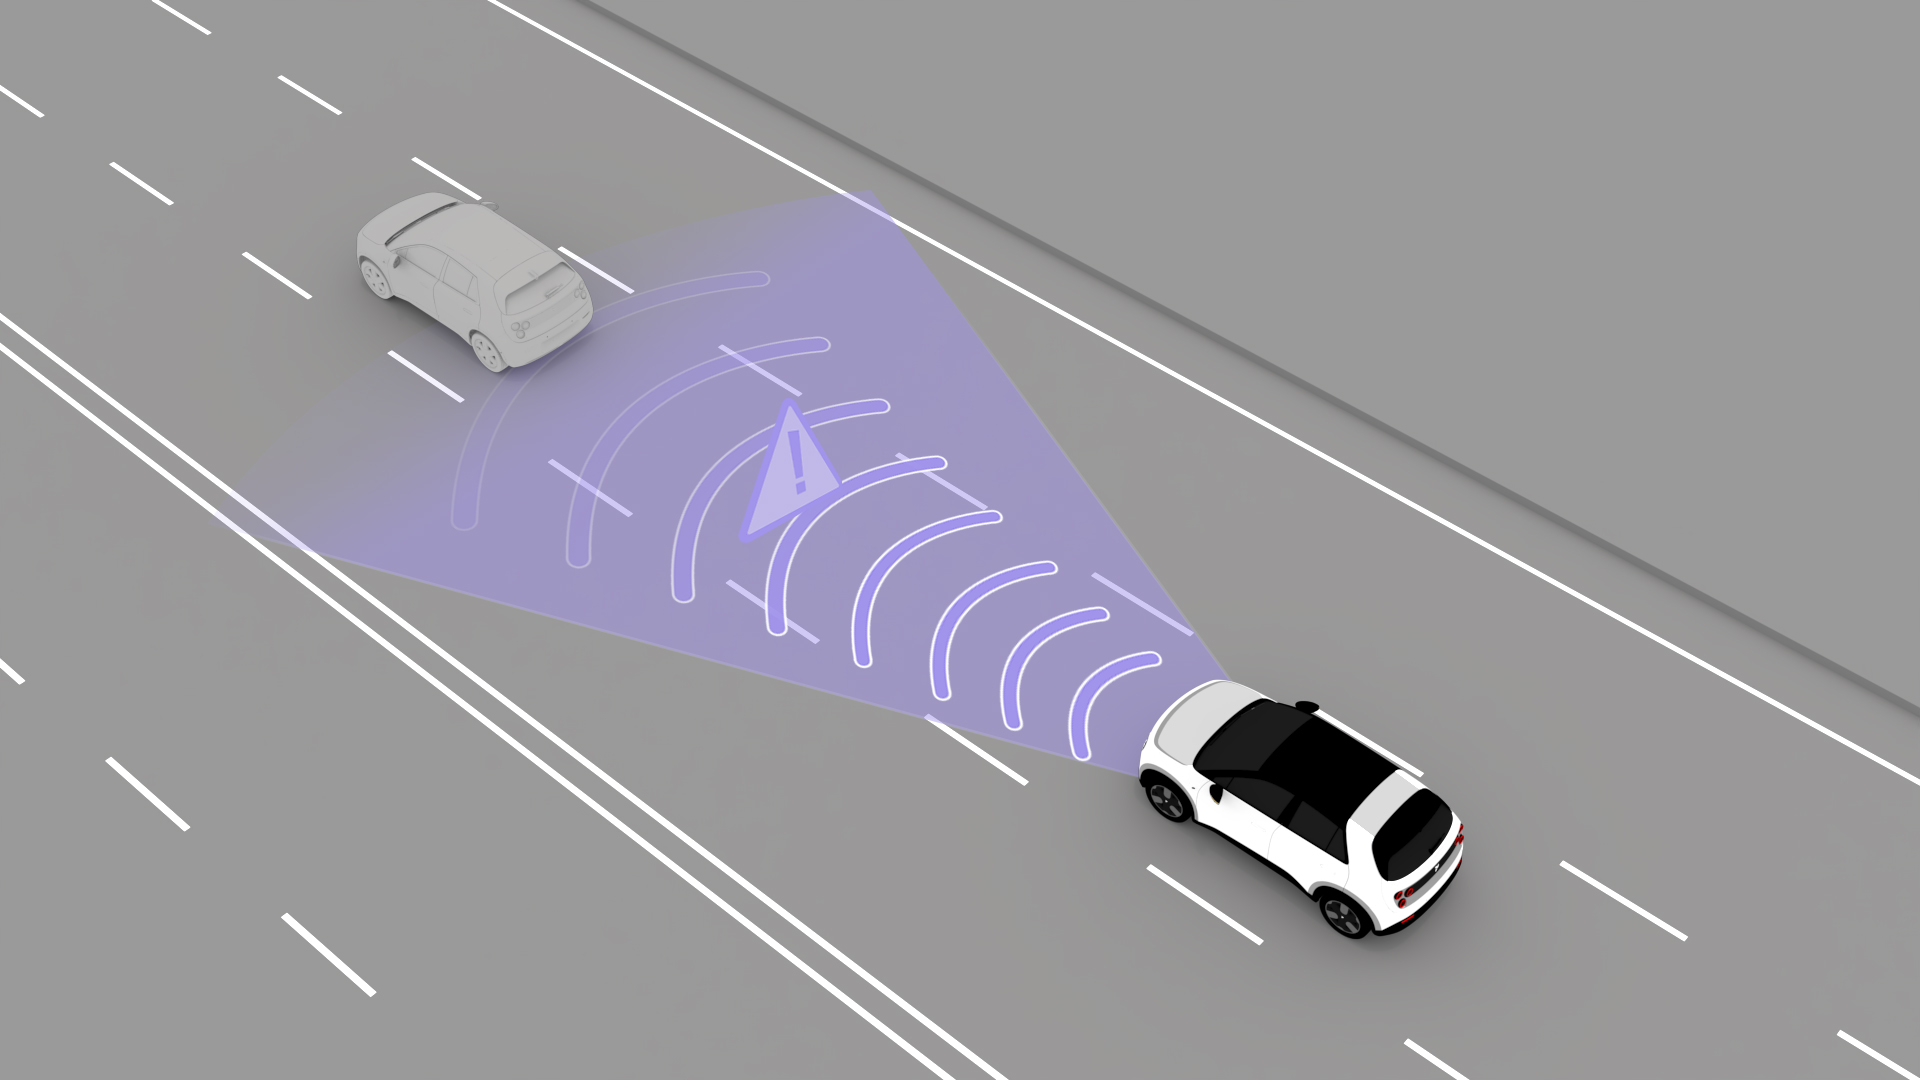
Do not apply metal-containing materials (e.g., metallic wraps, color-change films, or decorative trims) above the front license plate where radar sensors are located, as this will cause operational interference.
Radio Devices
When using your vehicle's radio device, comply with the laws and regulations applicable to your current location.
Do not park the vehicle in an area characterized by high electromagnetic interference, such as in the vicinity of a transformer.
The users of electronic medical equipment must consult with the equipment manufacturer to ascertain the potential impact of radio waves on its functionality. This is to ensure that radio waves do not have an unintended effect on the operation of the medical device.
CAUTION
Considering the problem of radio wave interference, any alteration to the wireless characteristics of the device, including software changes, replacement of the original antenna, or replacement of the original antenna with a new one, must be approved by the MOC.


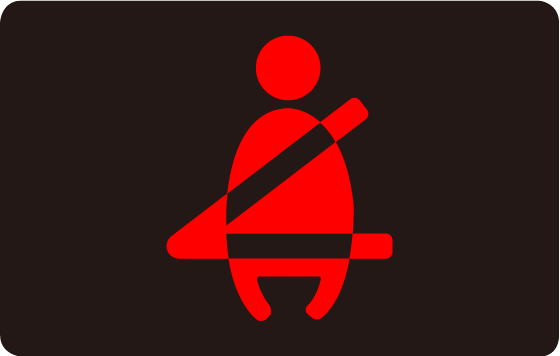


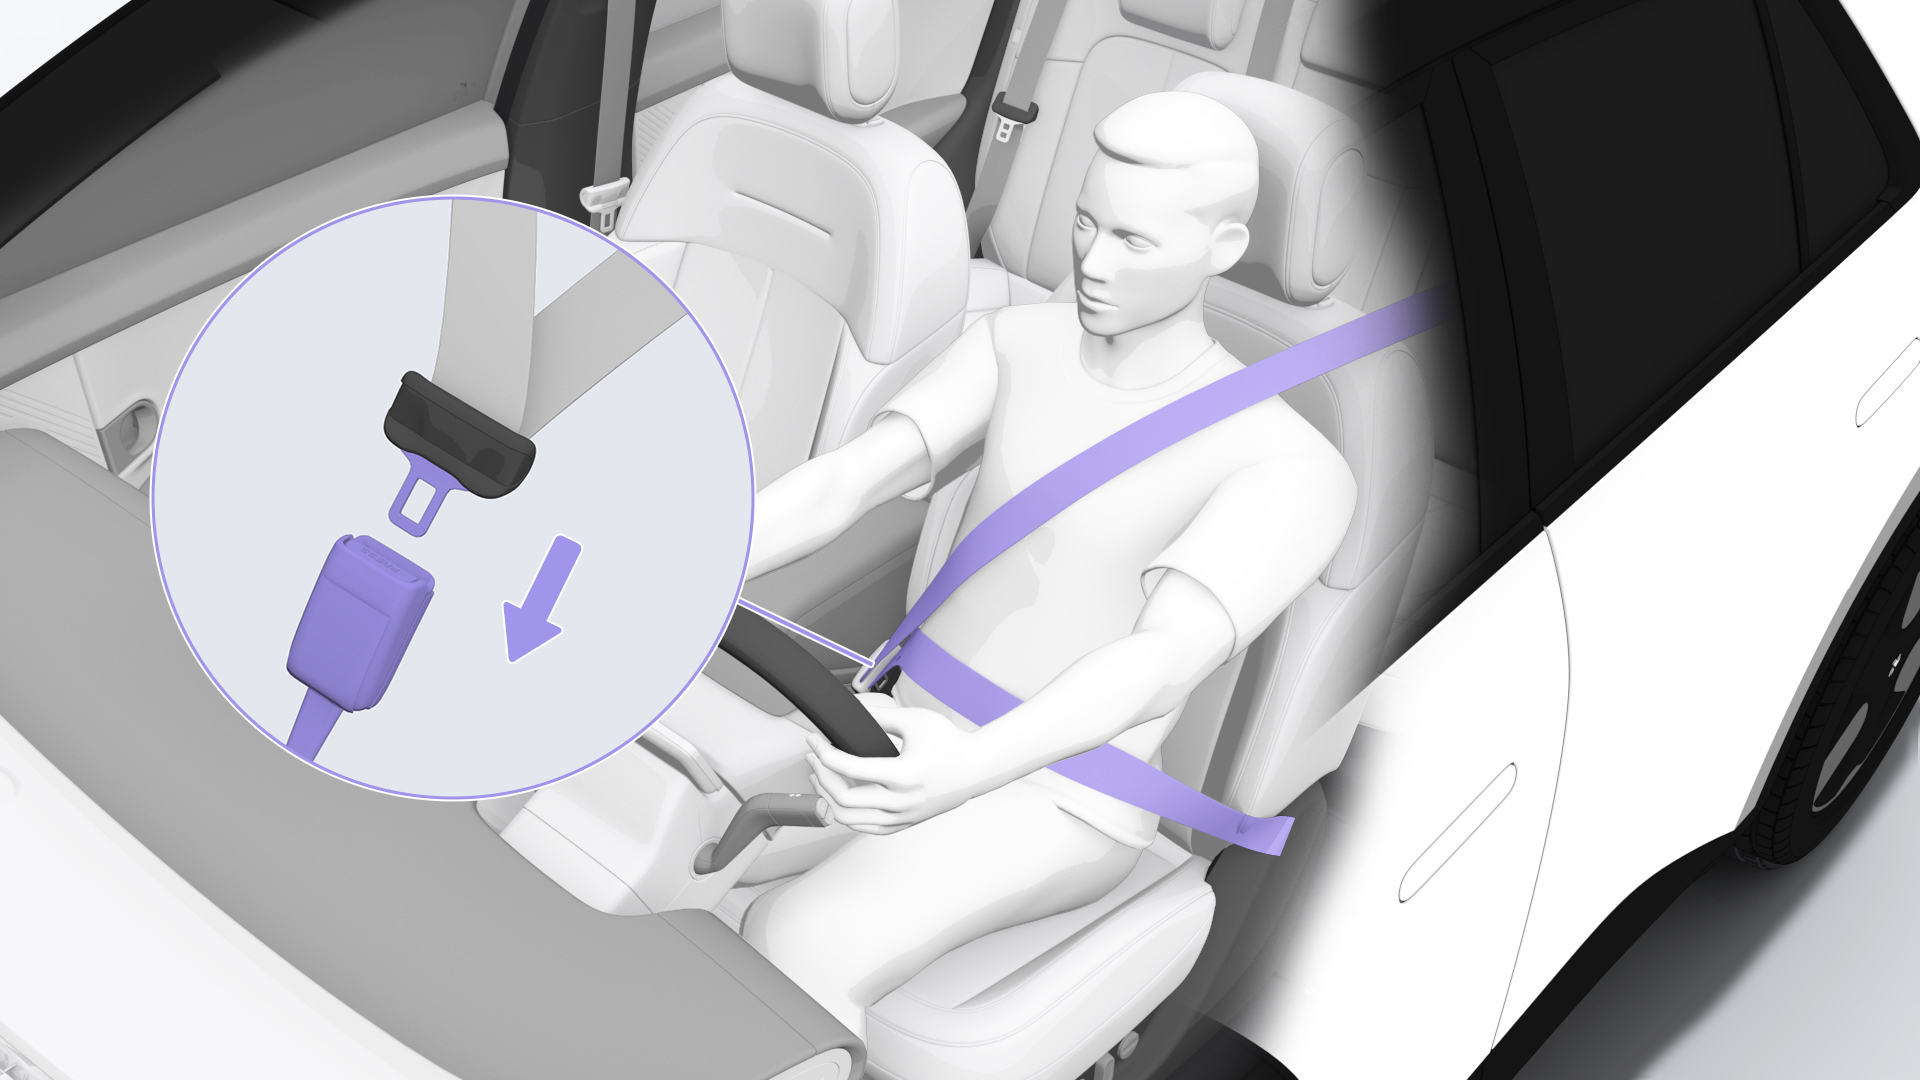

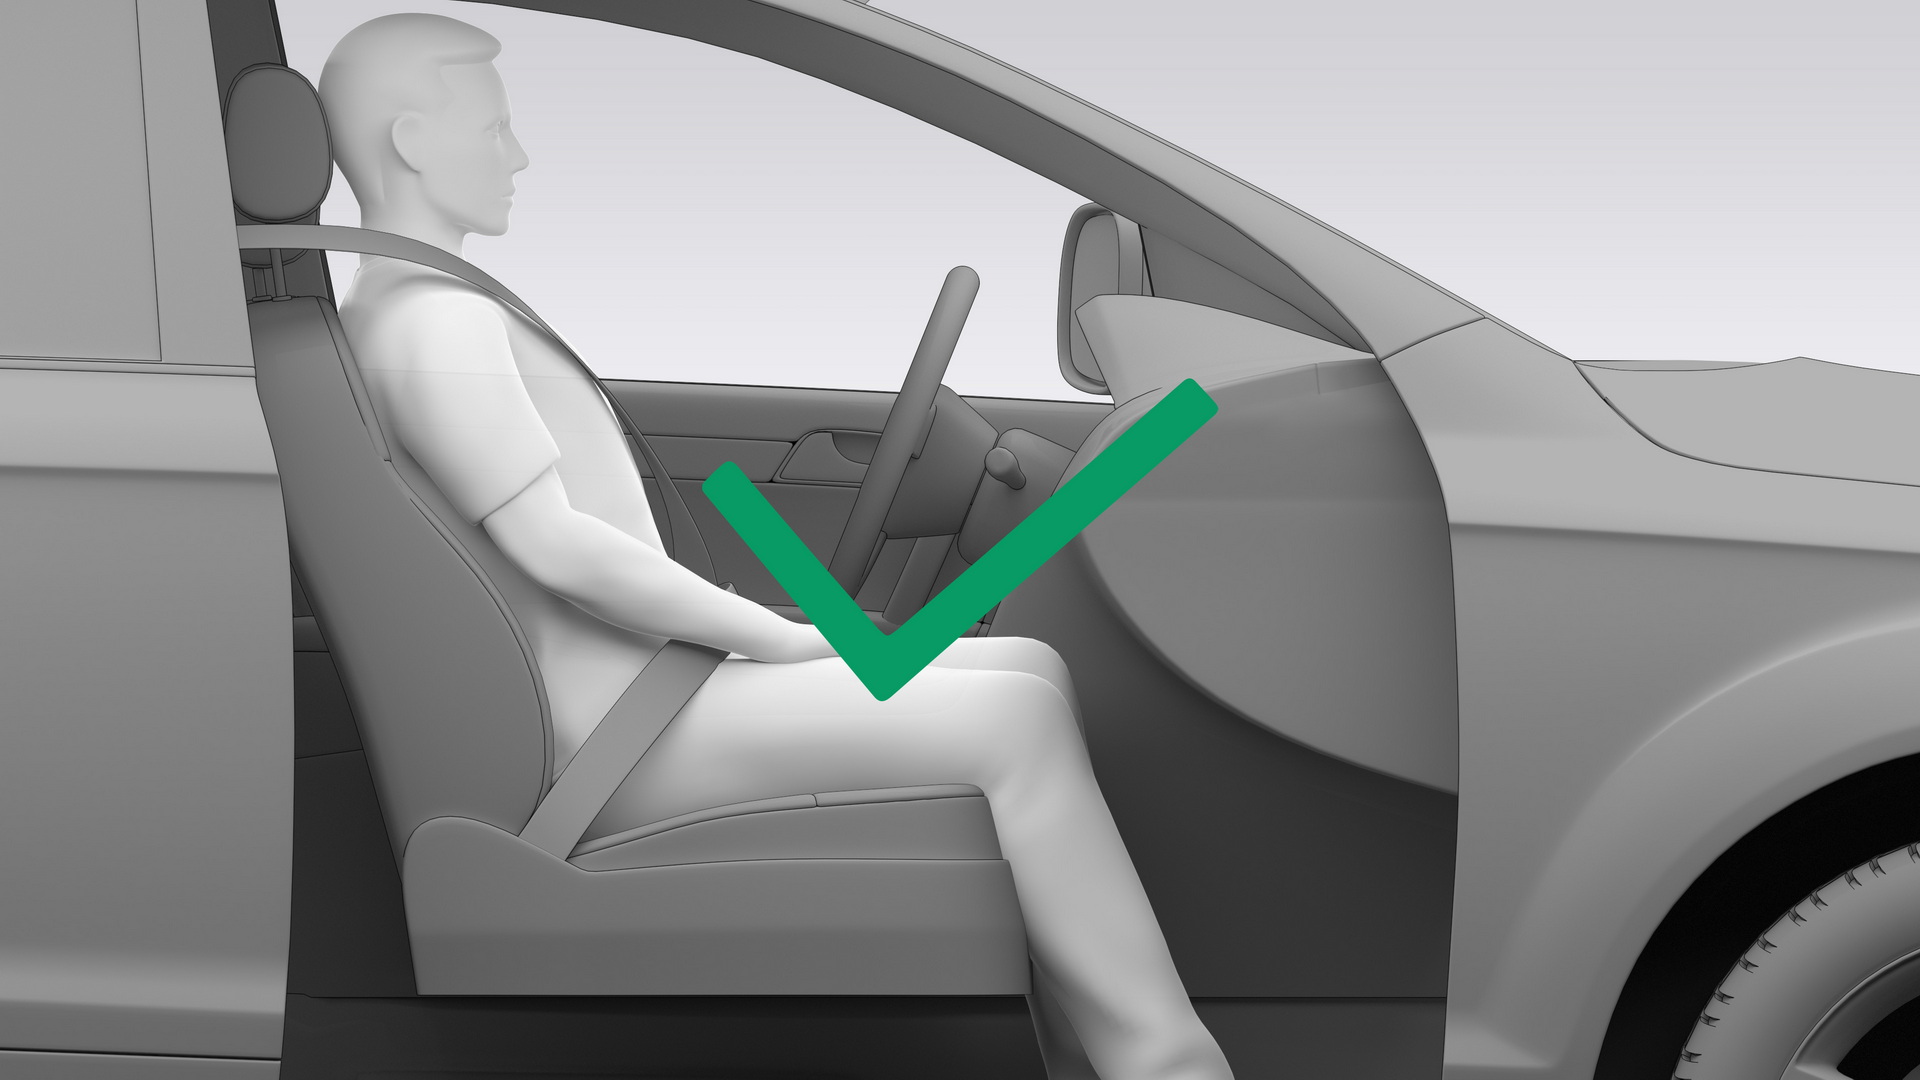


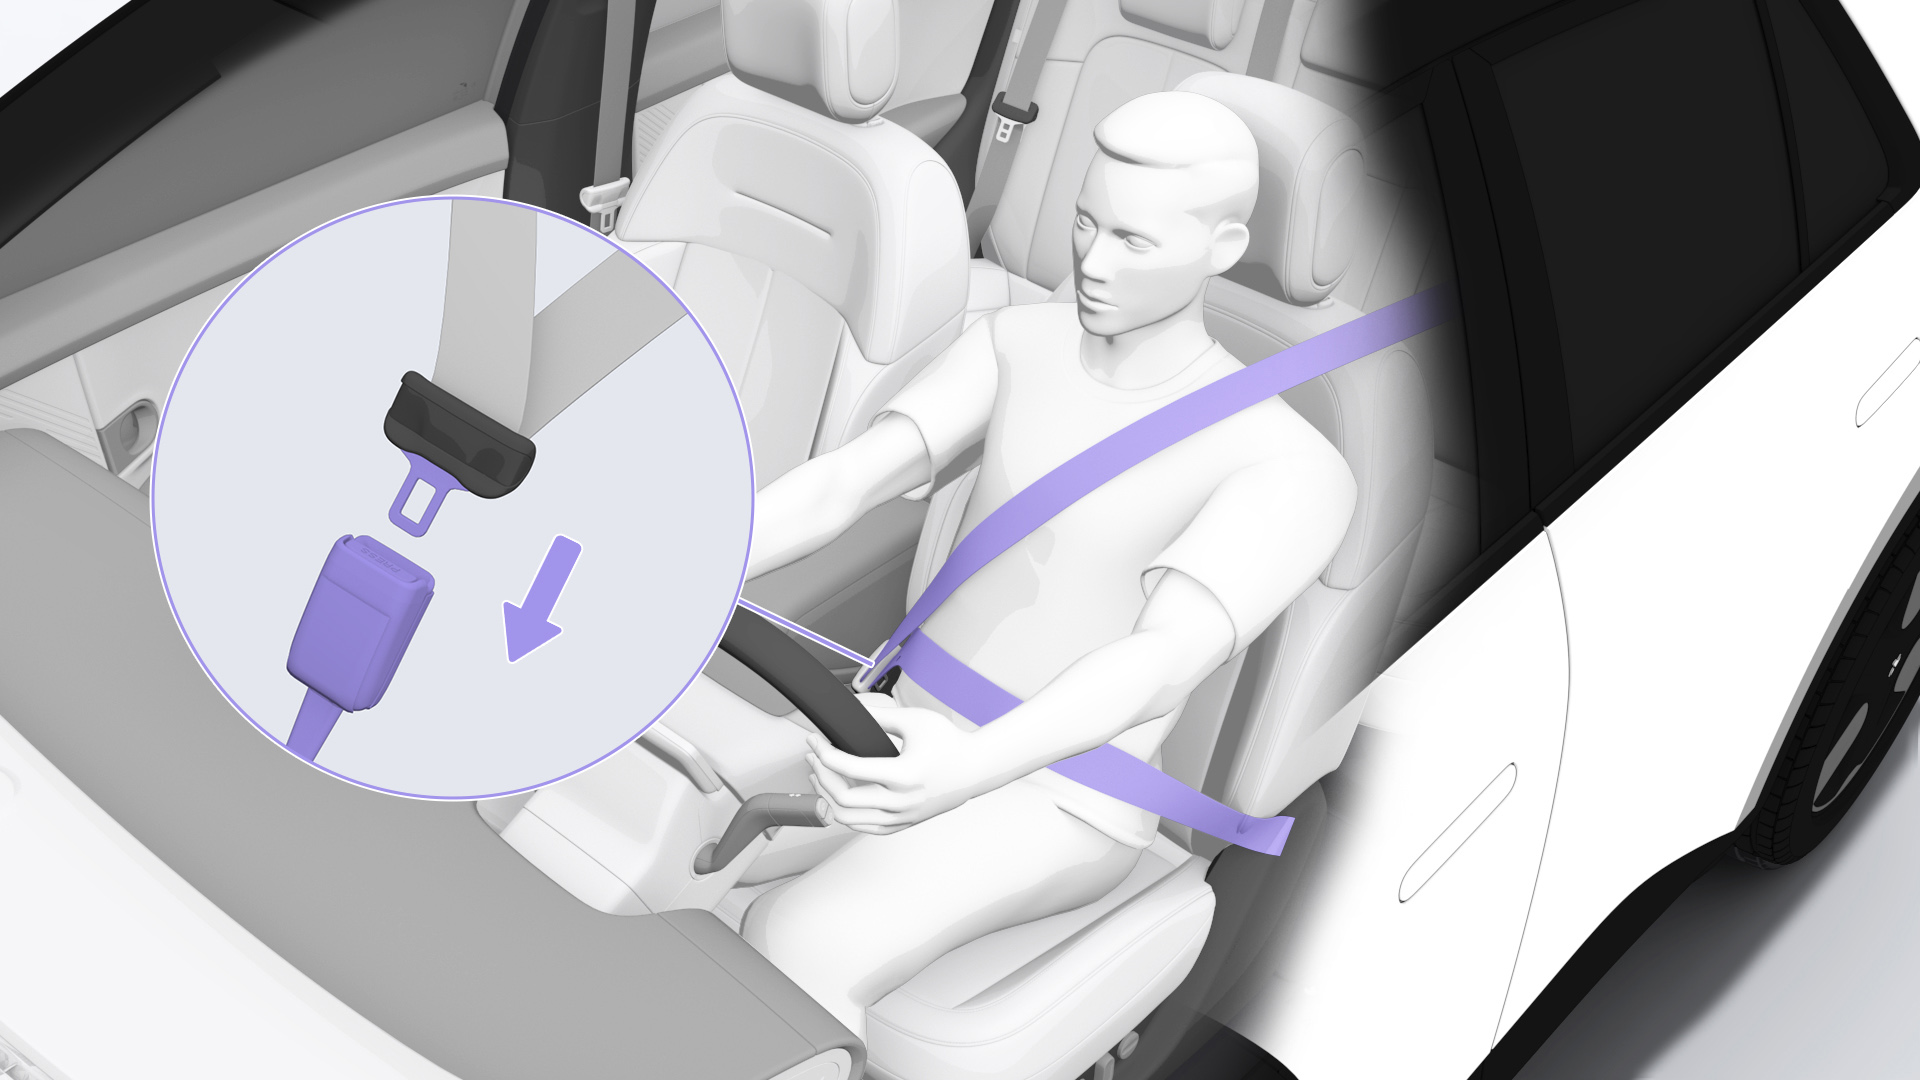
 on the Digital Instrument Cluster turns on when the front passenger is unbuckled, to alert them to buckle up.
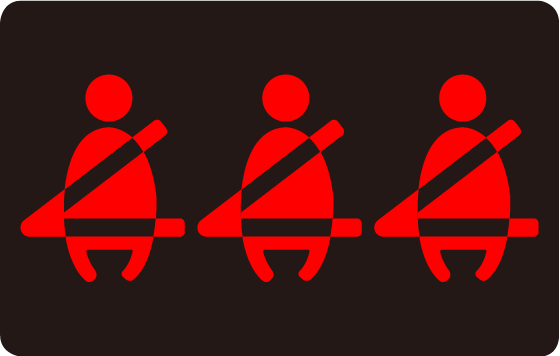
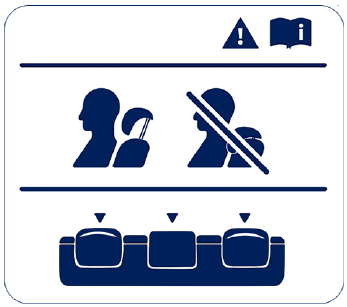
 on the Digital Instrument Cluster will illuminate if a rear passenger has not fastened the seat belt, reminding them to do so immediately.